How to Plan Band Merchandise Printing for Artists
Learn how to plan band merchandise printing: pick screen, DTG or embroidery, cut costs by order size, check quality and set fulfillment rules before launch.
November 4, 2026
Music Marketplace Advisor
Buying & SellingYou've got a tour poster fans keep asking about, a weekend gig in ten days, and a printer asking for files, quantities, and a blank choice you haven't made yet. That's where band merchandise printing usually goes wrong. Not on the press, but in rushed decisions about method, garment, and order size. Get the break-even numbers and proof checks right first, and the shirts arrive on time, wash well, and make money.
Print Methods Compared by Order Size and Design
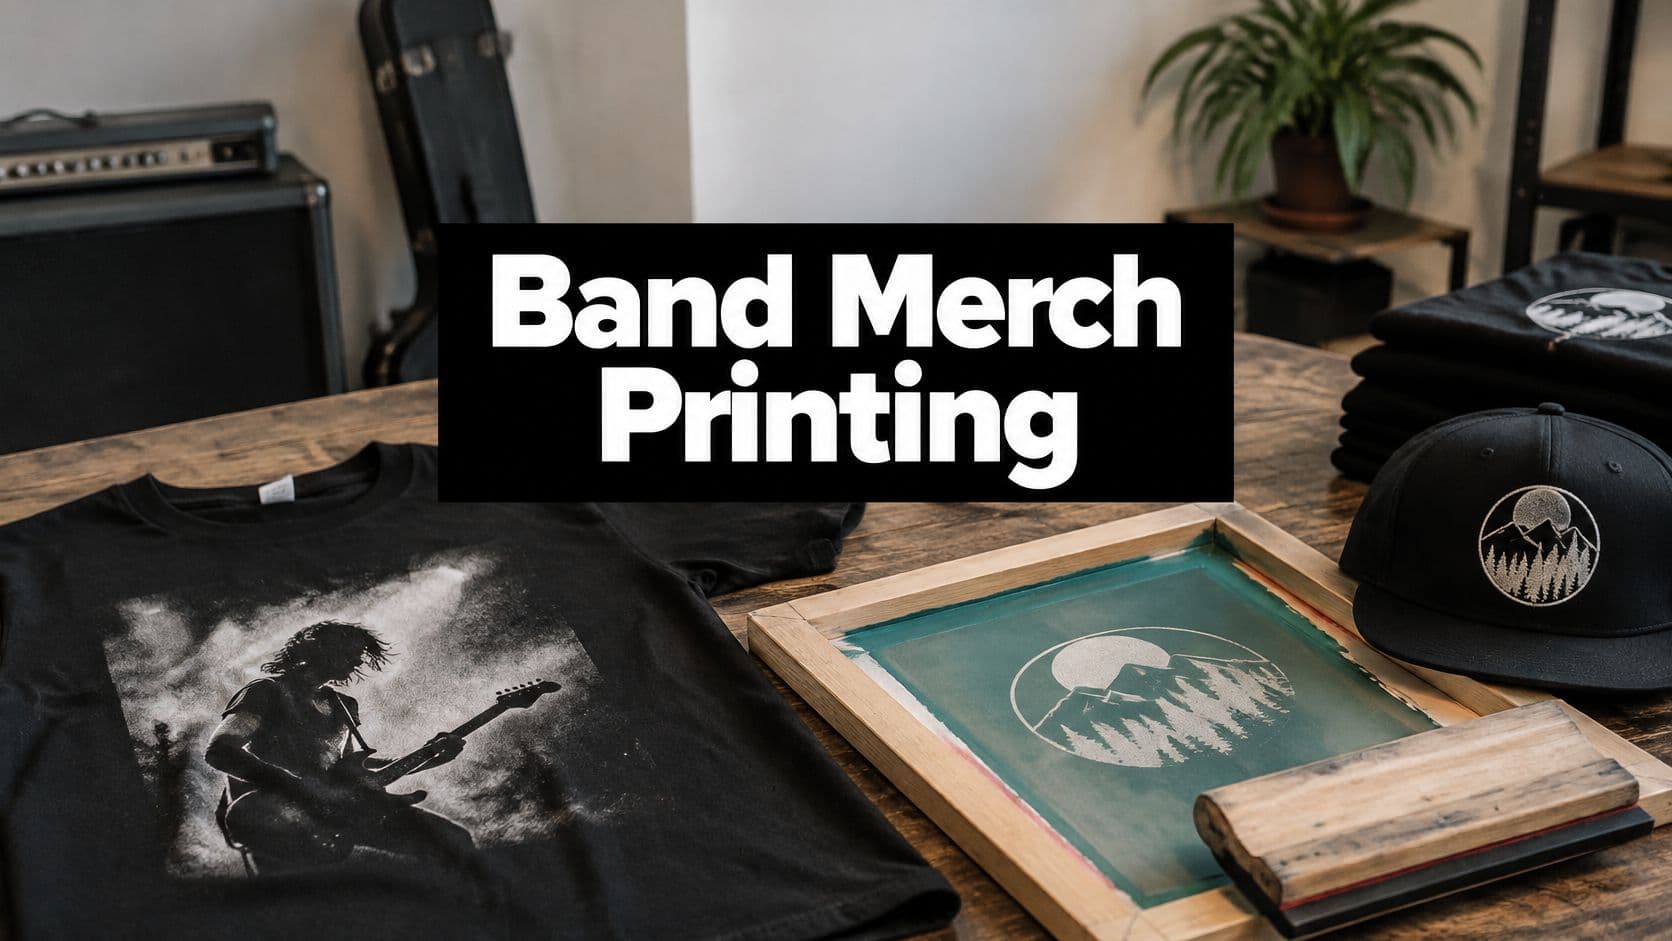
Say you're a five-piece band with a full-colour tour poster. You want 25 tees for this weekend and maybe 150 for a tour. Those are two different jobs, and forcing one method to cover both usually costs you margin or quality.
| Method | Best order size | Typical unit cost | Design fit | Main risk |
|---|---|---|---|---|
| Screen printing | 24 units and up, repeat designs | $6-$12 per shirt at 24-72 units | One to four spot colours, bold graphics | Setup cost and mesh/colour planning |
| DTG (direct-to-garment) | 1-72 units, short runs | $10-$18 per shirt | Full-colour art, photographic detail | Pretreatment and wash durability depend on process control |
| Embroidery | Logos, hats, jackets | Per-piece price set by stitch count | Simple shapes and logos, not fine detail | Stitch count and fabric limits |
| Print-on-demand | 1 unit, test drops | Higher per-item price set by provider | Wide catalogue, limited control | Longer delivery, weaker quality control, unsold risk shifts to the provider |
The BBC report on why band T-shirts matter notes the Licensing Industry Merchandisers' Association put the global music-merchandise market at $3.1 billion in 2016, rising 9.4% from $2.83 billion in 2015. You're not short of printers either. Small shops dominate the trade, so a local quote is usually reachable.
Practical rule: Screen print for volume and repeats, use DTG for full-colour short runs, and use print-on-demand to test demand before you commit cash.
If you're weighing digital options for other apparel, this breakdown of DTG versus DTF for company apparel helps you see where transfer printing fits. Don't choose on unit price alone. Add setup, minimums, and shipping first, then compare.
Garment Blanks and Sustainability Claims You Can Verify
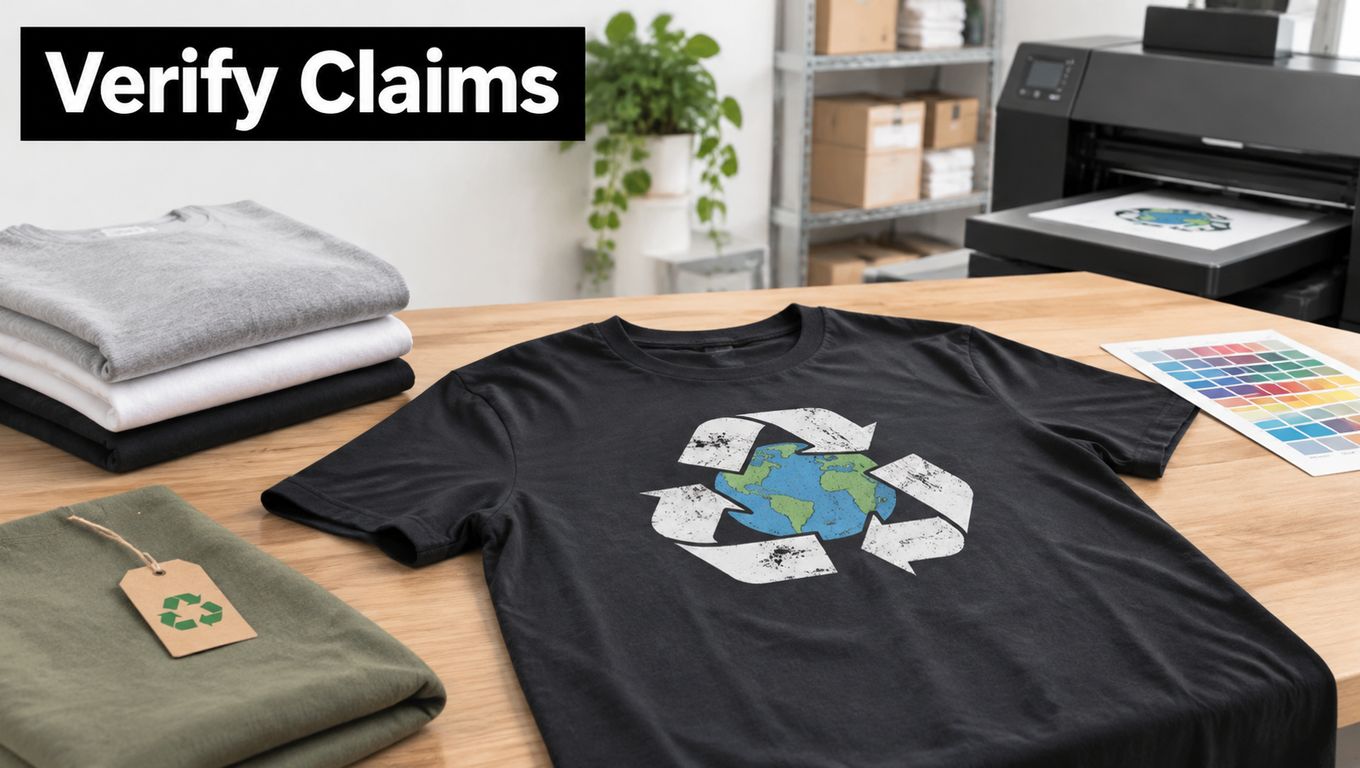
Going organic doesn't automatically make a drop lower impact. A small digital run that sells out can waste less than a bulk order of a greener blank that sits unsold in boxes. Match the blank to the method first, then verify the claim.
| Blank | Screen printing | DTG | Trade-off |
|---|---|---|---|
| 100% ring-spun cotton | Strong | Strong, the reference blank for DTG | Shrinks; heavier weights cost more |
| Cotton-poly blend | Good | Less consistent, test first | Cheaper, less breathable |
| Tri-blend | Good | Test first | Soft vintage hand, fibres can distort fine detail |
| Organic cotton | Strong | Strong, similar to conventional cotton | Verify certification and supplier data |
| Recycled polyester | Good for sport-style prints | Poor | Needs recycled-content evidence |
What to Ask Suppliers For
- Certified fibre documentation: Ask for the certificate, not a logo on a sales page.
- Recycled-content evidence: Get the percentage and source in writing.
- Factory and transport emissions: Request the figures the supplier already reports.
- Packaging and print chemistry: Confirm what ships with the garment and what inks are used.
The A Greener Future interview on music merchandise sustainability reports an Earth Positive T-shirt can save more than 7 kg of CO2e compared with conventional production, and that event organizers increasingly require suppliers to provide Scope 3 emissions data. That same source notes Germany's anti-greenwashing rules are scheduled to require substantiation of sustainability claims from September 2026.
State only what your documents support. Name the specific material or process behind each claim, such as certified organic cotton or a stated recycled content, and leave out vague words like eco or green on their own.
Artwork Files and Color Separations Before You Order
Run this file test before you send anything to a printer. It catches most delays in ten minutes.
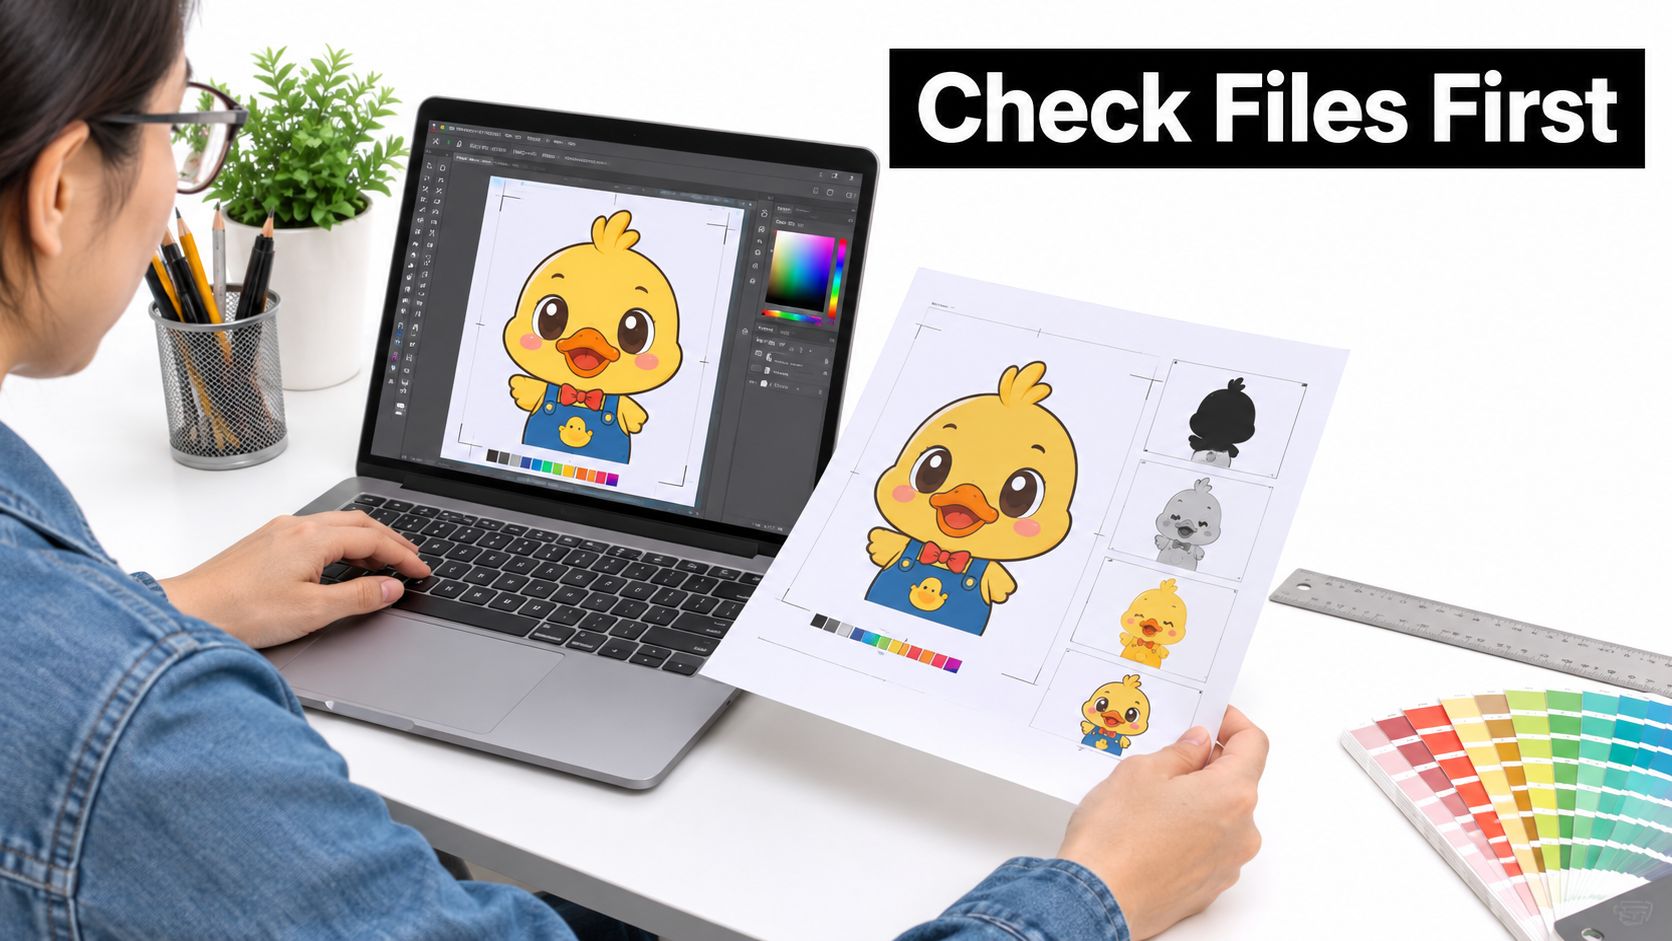
- Confirm the format: Supply vector artwork, or raster at actual print size with enough resolution for the print area.
- Separate by ink colour: Put each colour on its own layer, because each one becomes its own screen.
- Outline all text: Convert fonts to outlines so they don't substitute on the printer's computer.
- Check fine lines: Keep details above the minimum your printer sets for screen work.
- Leave a margin: Keep the design clear of seams, collars, and hems.
- Mock it up at size: Place the art at actual print size on the garment colour you'll use.
Mistakes That Cost Bands Money
Gradients that look smooth on screen need halftones for screen printing, and they won't match your monitor exactly. Thin script breaks up in the mesh, especially reversed out of a dark ink. On dark DTG shirts, a missing or weak white underbase leaves colours dull before the first wash.
Colour swatches picked on a laptop aren't a proof. Ask for a printed proof per colour, check it in daylight, and approve it in writing before production starts. That one habit prevents most reprints.
Check rights before you print, too. If your design uses a photographer's image, a sampled graphic, or a collaborator's lettering, confirm permission and review our intellectual property guidance before the order goes in. A takedown after printing wastes the whole run.
How to Screen Print a Band Tee Step by Step
A tour order can look fine on the first shirt and still fail after washing if the screens shift or the ink never cures properly. Set the print specifications before production, then check the finished print while there's still time to correct the run.
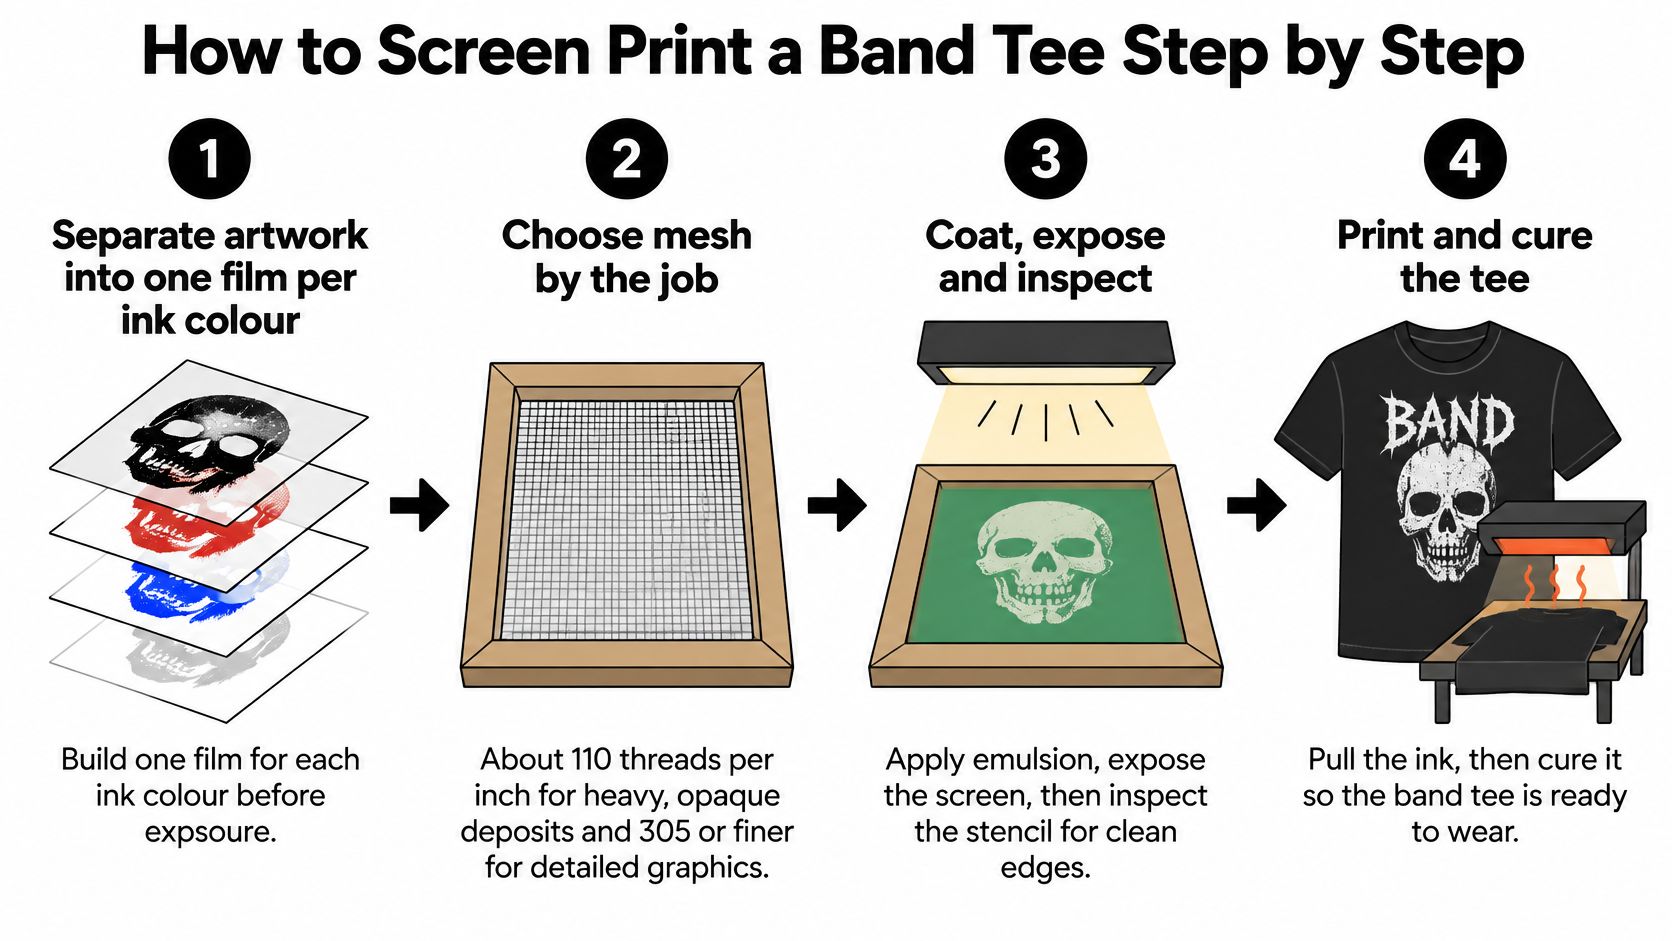
- Separate the artwork: Prepare one film per ink colour. Clean separations help prevent colours from trapping badly.
- Choose mesh by the job: The industrial screen printing process guide gives a starting point of approximately 110 threads/inch for heavy opaque deposits and 305 or finer for detailed graphics. It also gives typical minimum line widths of about 0.13-0.25 mm and registration around ±0.13-0.25 mm.
- Coat, expose, inspect: Check stencil edges for sawtoothing. Sharpen jagged edges before printing.
- Confirm screen tension: Loose screens can shift during a run, pushing colours out of register.
- Run a strike-off: Print on the actual garment. Fabric colour, stretch, and surface texture affect how opaque the ink appears.
- Standardise the squeegee: Set the pressure and angle, then keep them consistent. If ink bleeds past the design edge, reduce pressure.
- Register each colour: Align every screen and recheck after the first few shirts, once the platens and screens have warmed up.
- Cure to the ink profile: Follow the ink manufacturer's time and temperature profile. The dryer display alone does not confirm the ink has reached its required cure.
- Verify after cooling: Check the cooled print with a wash test and a rub test. A print that has not been tested is a risk to the run.
Why Curing Gets Skipped
A print can feel dry to the touch before it is fully cured, so curing is easy to rush. Improper curing is a common cause of adhesion failure. Peeling and fading after a few washes can result.
A shirt that passes a wash test in the shop is less likely to disappoint at the merch table. Untested prints can mean refunds and replacements.
Screen printing suits repeatable one- to four-colour designs, where durable spot colour and volume can make sense. Photographic gradients are harder to reproduce as spot colours. For soft blends and fine detail in a small run, choose a method better suited to that artwork.
Why DTG Prints Fail and How to Prevent It
A shirt can leave the printer with crisp artwork and still fade or crack after washing. DTG durability depends on even pretreatment, suitable ink coverage, and heat fixation matched to the printer, ink, and garment.
A Repeatable DTG Workflow
Prepare the artwork in the printer's colour space. Lint-roll and flatten the garment, apply pretreatment evenly, and dry it fully. Print white ink plus CMYK where the design requires it, then heat-fix according to a validated process for that specific setup.
The KODAK DTG dark pretreatment datasheet covers the pretreatment product, not a universal curing recipe. Use the printer and ink manufacturers' instructions to set temperature, pressure, and dwell time. Monitor pretreatment coverage: uneven or excessive application can leave visible marks.
| Symptom | Likely cause | Fix |
|---|---|---|
| Dark halos around the print | Uneven or excess pretreatment | Measure or monitor pretreatment and apply it evenly |
| Dull or washed-out colours | Too little pretreatment or a thin white underbase | Check pretreatment coverage and white ink coverage before reprinting |
| Cracking after washing | Excessive ink load or insufficient heat fixation | Adjust ink load and recheck the validated cure process |
| Poor wash performance | Incomplete heat fixation | Follow the setup's validated cure process, then repeat the wash test |
Wash durability varies by printer, ink, pretreatment, and garment. Test each setup with repeated home-style wash cycles before production, checking for fading, cracking, and peeling rather than relying on a general wash-count estimate.
Record the garment lot, pretreatment amount, platen height, curing settings, and defects for each batch. Test every new blank and ink combination with wash, rub, and stretch checks before selling the run.
DTG suits short runs, full-colour artwork, and personalised fan merchandise. Its flexibility comes with tighter process control: inconsistent pretreatment or curing can turn a low-cost print into a poor fan experience.
Cost Scenarios for 25, 100 and Global Drops
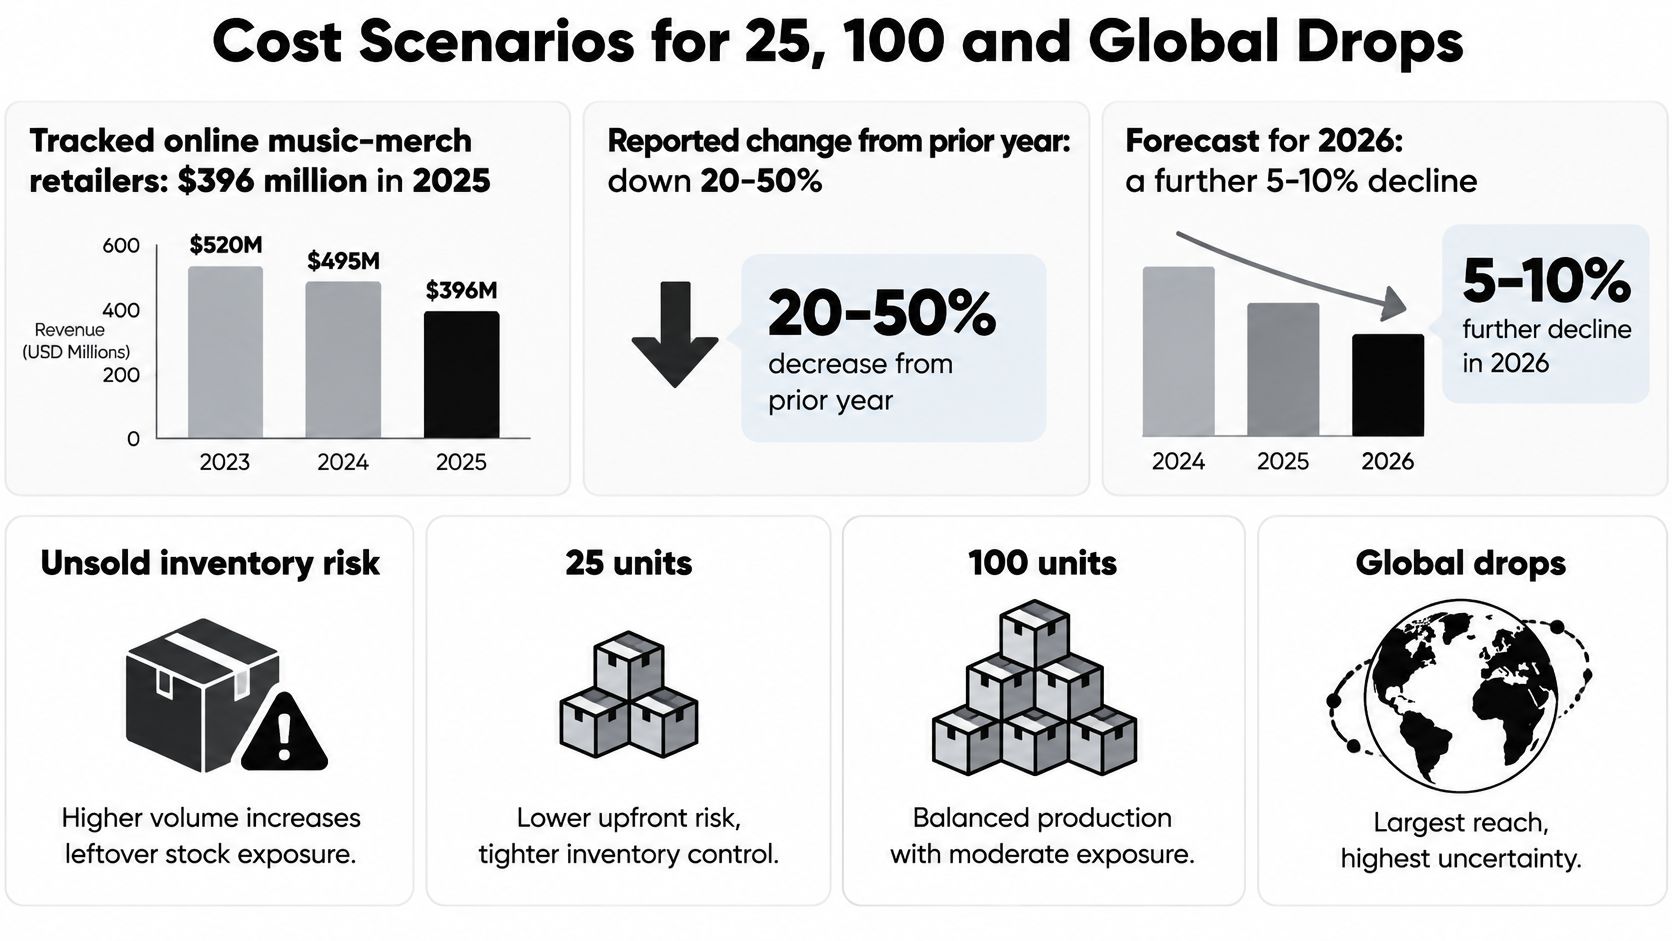
Unsold stock is a real cost, not a storage inconvenience. The Bandry guide to making band merch reports tracked retailers generated $396 million in online sales during 2025, reportedly down 20-50% from the prior year, with a further 5-10% decline forecast for 2026. It also places screen printing at roughly $6-$12 per shirt for 24-72 units and DTG at $10-$18 per shirt.
Use this formula. Total cost equals unit cost times units printed, plus setup fees, shipping, taxes, and expected returns or exchanges. Expected gross profit equals revenue from sales that deliver, minus that total. For a clearer view of hidden charges, this explainer on landed cost visibility for e-commerce brands shows how freight and fees change the unit cost.
| Scenario | Method | Estimated cost | Main risk |
|---|---|---|---|
| 25-unit preorder | DTG | $250-$450 before shipping | Higher unit cost, low unsold risk |
| 25-unit preorder | Screen printing | $150-$300 plus setup | Setup cost can erase savings at 25 units |
| 100-unit tour drop | Screen printing | Quote needed above the 72-unit reference range | Stock must sell by tour end |
| 100-unit tour drop | DTG | $1,000-$1,800 before shipping | Higher unit cost, no screen setup |
| Global print-on-demand release | Print-on-demand | Per-item price plus per-order shipping | Delivery times and size exchanges vary by country |
Print-on-demand maximises assortment and limits inventory risk. Preorders or batch printing can produce better margins and faster delivery once demand is validated. I would preorder first, print in batches, and let demand decide the second run.
To get a usable quote, send the garment blank, quantity, colour count, print area, file format, and delivery date. Then check our shipping guidance so delivery promises match what you can fulfil.
Lock Your Fulfillment and Return Rules Before Launch
Most post-launch disputes aren't about print quality. They're about shipping dates, size exchanges, and return terms nobody wrote down.
- Set delivery per market: State shipping or pickup options, and whether tour-date pickup is available.
- Set a preorder cutoff: Place it before you book the print slot, so quantities are final.
- Write returns into every listing: Cover eligibility, window, condition, fees, shipping costs, request method, and refund timing.
- Hold an exchange buffer: Keep a small buffer of each size, since size problems drive most tee returns.
- Batch tour shipments: Ship per city in batches instead of separate carrier runs.
- Confirm the sample: Approve the proof and a wash-tested sample before releasing the full order.
On OohYeah, sellers define the shipping, pickup, delivery, and fulfillment details on their own listings. Each listing must state whether change-of-mind returns are accepted, its return window, condition requirements, any restocking fee, who pays return shipping, the return-request method, the refund processing time, and its delivery or pickup method. Review our return policy before publishing so your listing matches it.
Enter per-sale fees into your break-even model. Artists keep 100% of eligible sales, minus payment processing, so processing is the figure to include. Pick the method, confirm the quote, and publish with returns and shipping set before the first unit prints.
List your printed tees, vinyl, and other merchandise in your own storefront on OohYeah, where you set pricing, shipping, and return terms and keep 100% of eligible sales, minus payment processing. Open your artist storefront today, publish your first preorder with clear delivery dates, and let validated demand decide your next print run.