Home Studio Setup: The Complete Beginner's Guide
Learn how to build a home studio from scratch. Step-by-step guide covering space, gear, software, and acoustic treatment for professional recordings.
October 11, 2026
Music Marketplace Advisor
Buying & SellingA home studio setup doesn't have to be complicated or expensive. You need a dedicated space, a computer, an audio interface, studio monitors, and DAW software. That's it. Everything else is optional until you know what you actually need.
If you're thinking about recording music, podcasts, or beats from home, this guide walks you through the exact steps to get started without wasting money on stuff you'll never use.
Pick Your Physical Space First
Before you buy anything, choose where your home studio will live. This is step one because your space directly affects your sound quality.
Look for a room that's small to medium-sized. Bedrooms work great because they already have soft materials like carpet, curtains, and furniture that absorb sound. Avoid large, empty rooms or spaces with super high ceilings. Those create echoes and weird reflections that mess up your recordings.
Your space doesn't have to be perfect. A closet, spare bedroom, or even a corner of your living room can work. Just pick somewhere you can control the noise and won't get interrupted every five minutes.
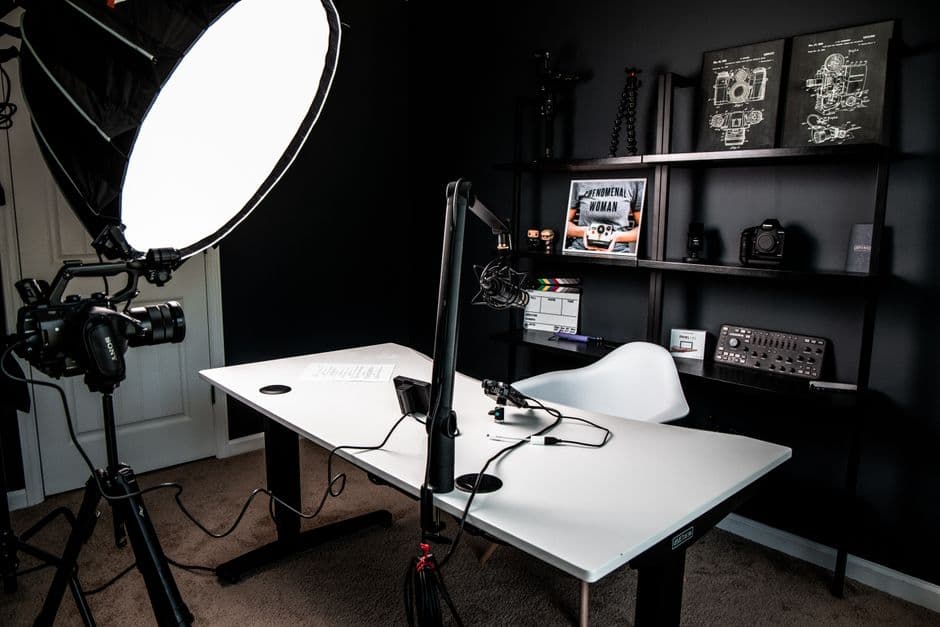
Make sure there's room for your desk, monitor, and a comfortable chair. You'll spend hours sitting there, so comfort matters more than you think.
Set Up Your Computer
Your computer is the heart of your home studio. It runs your DAW (Digital Audio Workstation) and handles all the processing power needed for recording and editing.
You don't need a gaming computer or anything crazy. A mid-range laptop or desktop works fine for most home producers. Windows or Mac both work equally well. Just make sure it has enough RAM and a solid processor so your DAW doesn't lag when you're working on projects.
Pro tip: A desktop gives you more power for your money, but a laptop gives you flexibility to work anywhere. Pick whatever fits your lifestyle.
Close unnecessary programs when you're recording and editing. Every bit of processing power counts when you're running audio software.
Choose Your Audio Interface
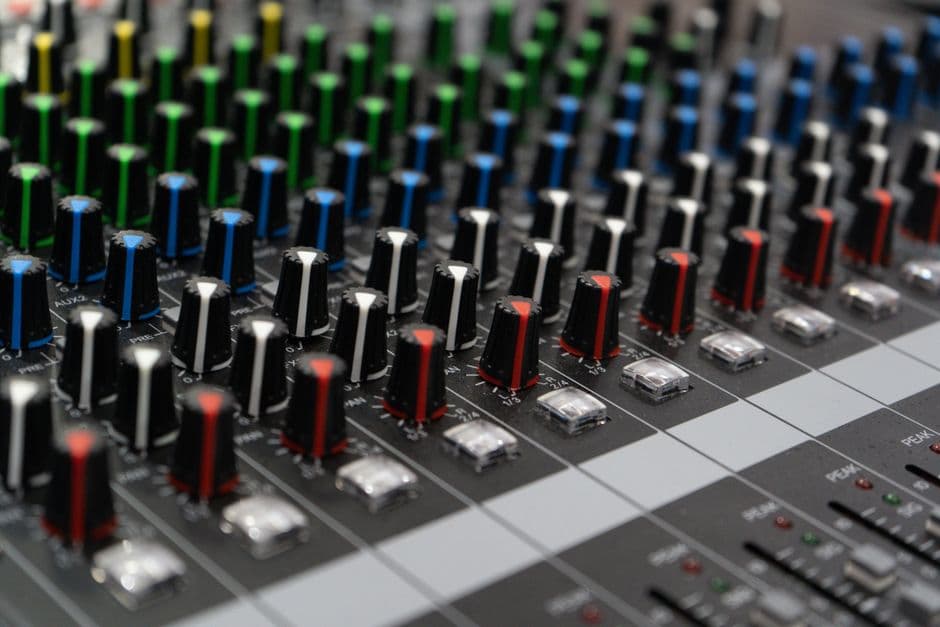
An audio interface is the bridge between your instruments, microphone, and computer. It converts analog sound into digital audio that your DAW can understand, and vice versa.
Think of it as a translator. Without it, your computer's built-in sound card can't handle professional-quality recording.
For a home studio setup, start with an interface that has at least two inputs (one for a microphone, one for an instrument). USB powered interfaces are fine. They plug into your computer and draw power from the USB connection, so no extra power cables needed.
Related: Best Microphone Amplifiers 2026: Top 5 Ranked for Home Studio
Related: Best Home Recording Studio Equipment 2026: Top 6 Ranked
Look for something with combo XLR inputs. Those work with both microphones and instruments, giving you flexibility as your needs change.
Get Studio Monitors (Not Regular Speakers)
Studio monitors are speakers designed for accurate sound reproduction. They're completely different from the speakers in your car or Bluetooth speaker.
Regular speakers add color to sound. They make music sound good but hide problems. Studio monitors are flat and honest. They show you exactly what your recording sounds like, which is what you need for mixing and mastering.
Most home studios use a pair of powered monitors (speakers with built-in amplifiers). They sit on either side of your desk at ear level. This creates a stereo field that helps you hear panning, balance, and detail.
Don't cheap out here. Good monitors cost more than an audio interface, but they're worth every penny. You can't make good mixes on bad speakers.
Add Acoustic Treatment to Your Space
Acoustic treatment is what separates amateur recordings from professional ones. Sound bounces off hard walls and creates reflections that muddy your recordings.
You need absorption panels, bass traps, and diffusers. Absorption panels go on the walls and soak up mid and high-frequency reflections. Bass traps handle low-frequency buildup in corners. Diffusers scatter sound waves instead of absorbing them.
Start with panels behind your monitors and on the walls beside your mixing position. This treats the first reflection points. Then add bass traps in the corners. You don't need to treat every inch of the room. Strategic placement makes a huge difference.
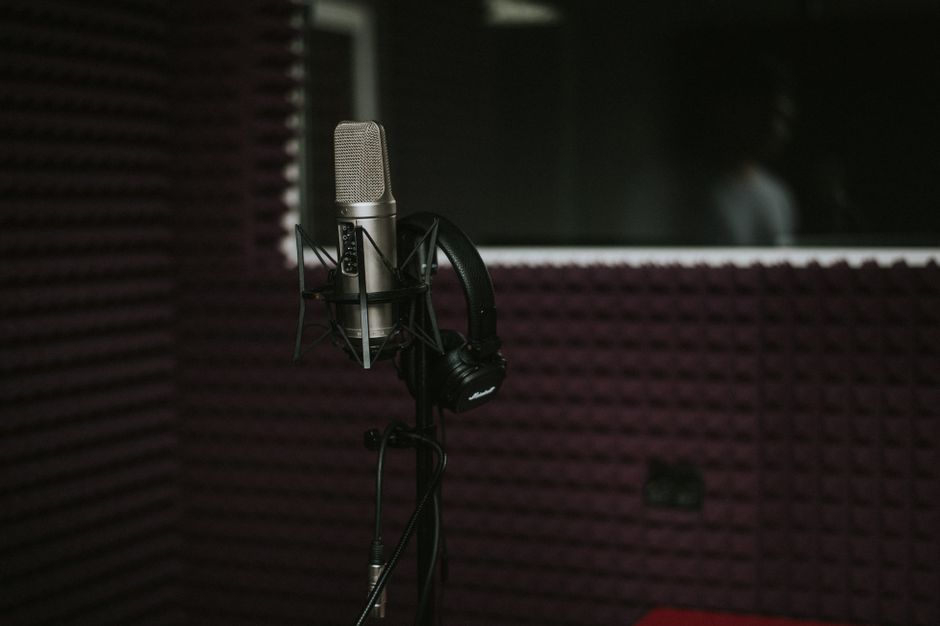
If budget is tight, acoustic foam is cheap and effective for getting started. Heavy curtains and bookshelves also help. Get creative. The goal is to stop sound from bouncing around like crazy.
Install Your DAW Software
Your Digital Audio Workstation is where you record, edit, and mix. It's the software that makes everything work together.
Popular options exist at every price point. Some are free to start. Some cost money upfront. Some charge per month. Pick one and stick with it long enough to actually learn it.
Once your DAW is installed, connect your audio interface to your computer, plug in your studio monitors, and test everything. Record a few seconds of yourself talking. Play it back through your monitors. If you hear yourself, everything is wired correctly.
When you're ready to sell your recordings or invest in better gear down the road, OohYeah is where music creators buy and sell gear without getting killed by marketplace commissions.
Add Microphones and Instruments Later

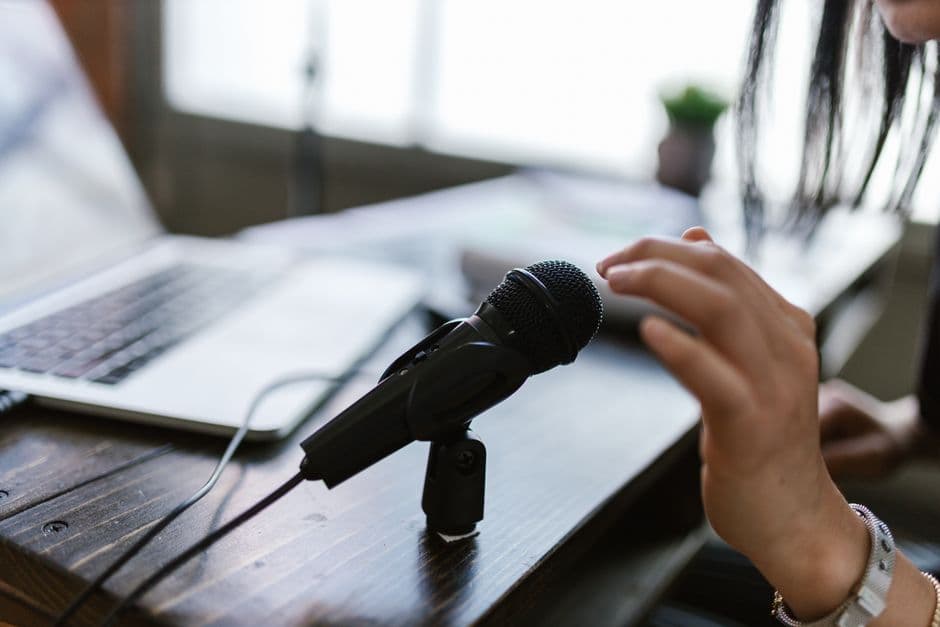
Once your basic setup is done, you can add a microphone for vocals or podcasting. A condenser microphone works well for most home studio needs.
You'll need an XLR cable to connect the microphone to your audio interface, and a microphone stand and pop filter to reduce plosive sounds.
If you're recording instruments, plug them straight into your audio interface with an instrument cable, or use a DI box for bass.
Don't feel like you need everything right now. Start with what you have. Add gear as you actually need it. This keeps costs down and forces you to learn your setup before upgrading.
Acoustic Panels and Cable Management Matter More Than You Think
Cable management sounds boring, but messy cables create noise problems. Keep all your audio cables away from power cables. Power cables create electromagnetic interference that shows up as hum and buzz in your recordings.
Organize your workspace so everything has a home. Label your cables. This saves time when you need to troubleshoot something.
Acoustic panels aren't just functional. They also make your space look professional and feel more like a real studio. That mindset shift matters for creativity.
Many home producers gradually upgrade their acoustic treatment over time. Start with a few key panels and add more as budget allows. You're building this for the long term.
Budget Flexibility is Your Superpower
Home studio setups scale to any budget. Some people spend hundreds. Some spend thousands. Both can produce professional-quality recordings if they're set up smart.
The key is spending money on the things that actually matter: your audio interface, your studio monitors, and your acoustic treatment. These directly impact sound quality. Everything else is secondary.
Start lean. Buy entry-level gear that works. Learn your setup inside and out. Only upgrade when you hit a wall that's holding you back.
And when you're ready to buy used gear, sell your old equipment, or connect with other musicians looking to upgrade, check out OohYeah's marketplace. You keep what you earn instead of giving a chunk to some middleman.
Common Home Studio Setup Questions
Do I need soundproofing or just acoustic treatment?
Soundproofing stops sound from leaving your room. Acoustic treatment controls sound inside your room. For most home studios, acoustic treatment is what you actually need. It improves how your recordings sound. Soundproofing is expensive and usually unnecessary unless you're recording super loud drums or you have noise problems from outside.
Can I use headphones instead of studio monitors?
Headphones work for recording and editing, but not for mixing. Your brain hears stereo differently through headphones versus monitors. You'll make mixing decisions that sound good in headphones but terrible on actual speakers. Use monitors to mix. Use headphones for detail work and reference listening.
What's the cheapest way to start a home studio?
Start with a computer you already own, a budget audio interface with two inputs, entry-level studio monitors, and free or affordable DAW software. Add acoustic panels one or two at a time. You can get going for less than you'd spend on a decent guitar, and you'll learn a ton about what you actually need before spending more money.
How long does it take to set up a home studio?
The physical setup takes a few hours. Unpack everything, plug it in, test it, and arrange your cables. Learning your software and dial in your acoustics takes weeks. Give yourself time to get comfortable. Every studio is different, and what works for someone else might not work for you.