Your Guide to Professional Custom CD Prints for Indie Artists
Learn to create and sell custom CD prints that fans will love. This guide covers printing, packaging, design files, and costs for independent musicians.
March 12, 2026
Music Marketplace Advisor
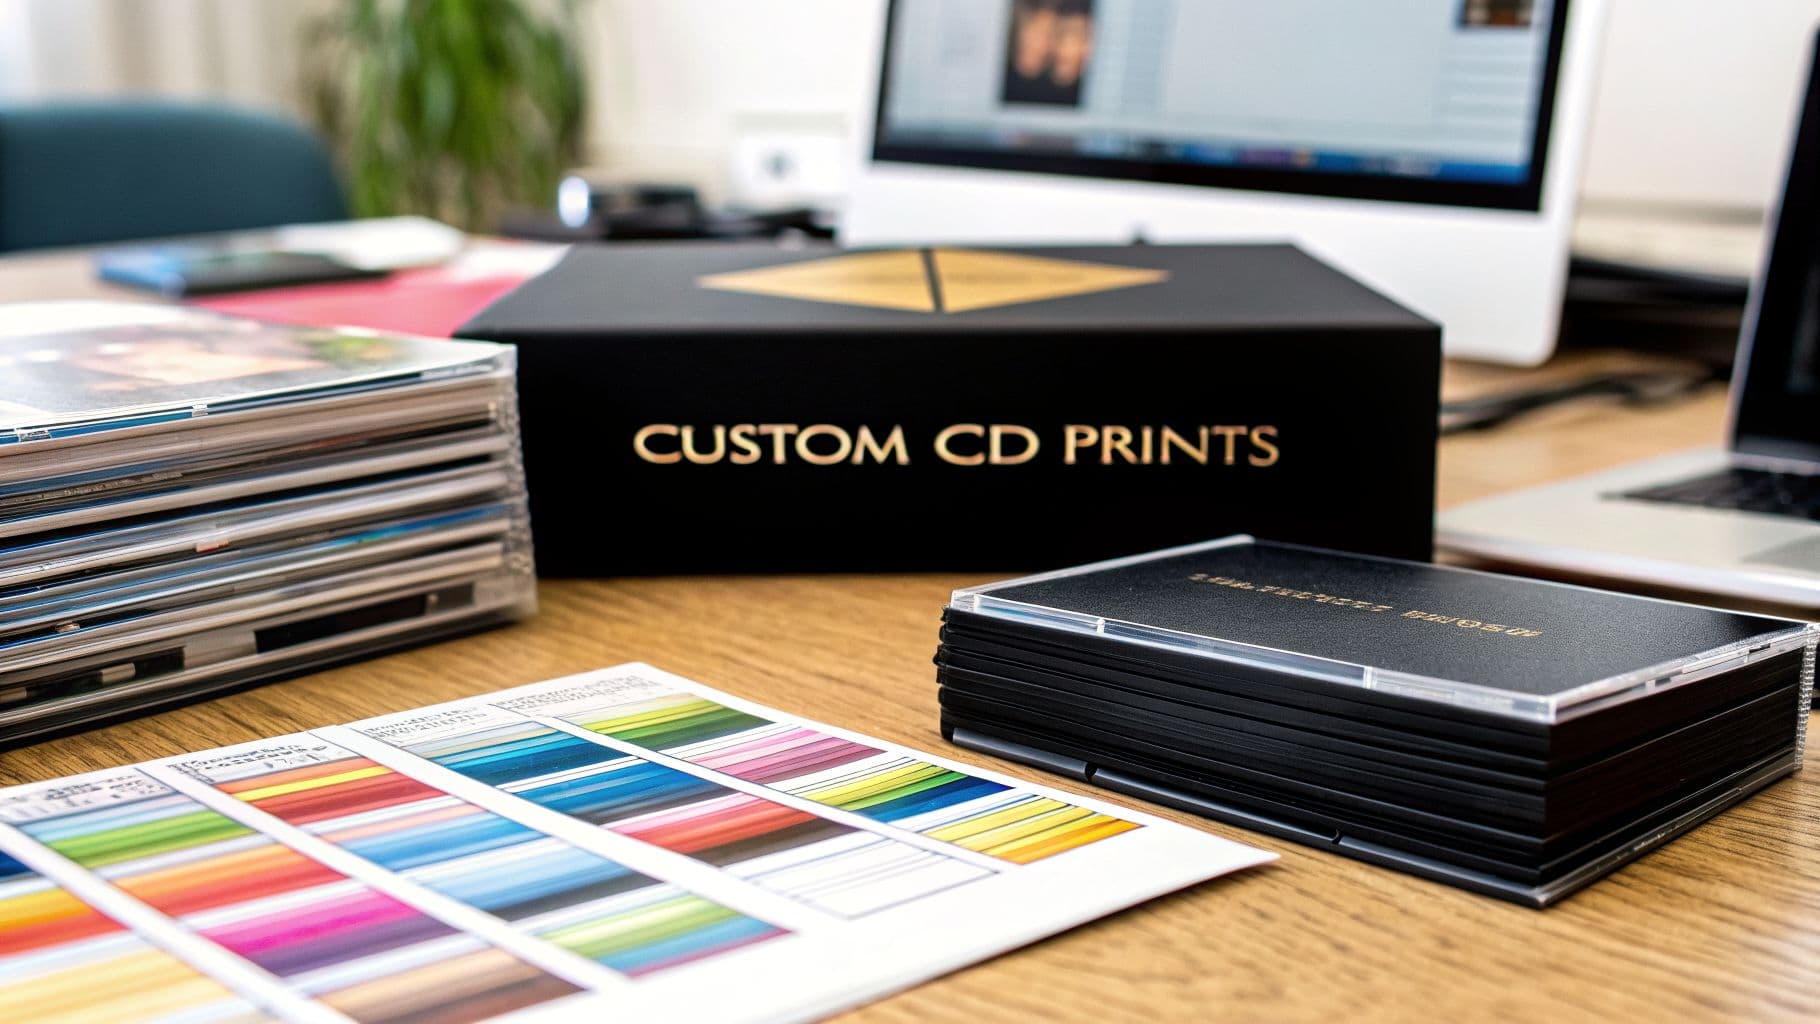
Buying & SellingWhen you boil it down, custom CD prints are all about taking your digital album and turning it into a real, physical piece of merchandise. For an indie artist, this isn't just a throwback—it's a way to create a tangible, collectible item that forges a much deeper connection with your fans and opens up a vital revenue stream beyond streaming.
Why Custom CDs Drive Fan Connection and Revenue
In a world filled with endless digital playlists, pressing physical CDs might feel like a step backward. But for independent artists, it’s actually a brilliant strategic move. Custom CDs aren’t just a nostalgic format; they are premium merch that elevates your brand and builds a real, lasting relationship with your audience.
Think about it from a fan's perspective. A beautifully designed CD is a piece of art they can hold, display, and cherish. It’s a tangible way for them to support the music they genuinely love. Unlike a fleeting stream, a physical CD becomes a permanent fixture in their collection, a souvenir from a live show, and a clear signal of their loyalty. This simple act of buying something physical creates a bond that a click on a streaming app just can't match.
For an artist, a custom CD is more than just music; it's a handshake with your listener. It’s a physical manifestation of your art that says, "Thank you for believing in this project enough to own a piece of it."
This direct support is also a financial game-changer. The profit you make from selling physical products like CDs is worlds apart from the fractions of a penny you earn from streams. This is real income you can pour back into your career—funding your next recording session, tour, or music video.
On top of that, we're seeing a huge demand for unique, personalized products everywhere. The custom printing market, which hit $33.84 billion in 2025, is expected to skyrocket past $52.28 billion by 2030. This boom is driven by people wanting one-of-a-kind items that reflect their tastes—exactly like a custom CD with your unique album art. This is a trend you can tap into directly by selling to your fans on platforms like OohYeah for commission-free sales. You can learn more about the custom printing market's explosive growth and see how it’s creating new opportunities for creators.
A Practical Guide to CD Printing Methods
Choosing the right printing method for your custom CDs is all about matching the tool to the job. You wouldn't use a sledgehammer to hang a picture frame, and the same logic applies here. Getting a feel for the technology behind the print will help you have a much more productive conversation with a manufacturer and ensure you get exactly what you want.
So, where do you start? This decision tree can help you map your core goals—whether that's building a deeper connection with fans or opening up a new revenue stream—to a smart CD strategy.

The great thing is, no matter what your main goal is, a well-planned custom CD can usually accomplish both. Let's dig into the four main printing methods that will bring your project to life.
The Workhorses: Digital vs. Offset
For most artists, the choice will come down to one of two methods: digital or offset printing.
Think of digital printing as a super-powered, professional version of a desktop printer. Its main advantage is the minimal setup required, which makes it perfect for small, quick runs of typically under 500 units. If you’re an emerging artist who needs 100 CDs for a last-minute tour, digital is your best friend.
On the other hand, offset printing is the heavyweight champion of the industry, built for large-scale production. This process involves creating custom metal plates of your artwork to transfer the ink, much like how a traditional newspaper is printed. While the initial setup is more complex and costly, the price per CD drops significantly on orders of 500 or more. For a major album release, offset delivers that flawless, top-tier quality you see in record stores.
Honestly, the choice between digital and offset often boils down to simple math. Digital gives you speed and flexibility for smaller projects, while offset offers unbeatable cost-efficiency and premium quality when you go big.
Specialty Finishes: Thermal and Silkscreen
Beyond the two main players, a couple of specialized methods offer unique looks for specific creative visions.
Thermal printing uses a heat process to fuse a waxy, ink-covered ribbon directly onto the disc's surface. The result is an incredibly durable, crisp, and almost photo-realistic finish. This is an amazing option for premium, limited-edition runs where you want the on-disc artwork to be exceptionally sharp and built to last.
Then there's silkscreen printing, a classic technique that involves pushing ink through a stenciled mesh screen. It’s the go-to for bold, graphic designs with just a few solid colors—think of a band logo in one or two striking shades. Since a new screen has to be made for each color, it’s most economical for simple artwork on large orders, usually starting at 1,000 units. Many artists love the tactile, slightly raised feel of silkscreen for its authentic, retro vibe.
Comparing CD Printing Methods at a Glance
To make the decision even easier, here’s a quick breakdown of how the four methods stack up against each other. Use this table to find the perfect fit for your project's budget, timeline, and creative goals.
| Printing Method | Best For | Ideal Quantity | Cost Per Unit | Quality and Finish |
|---|---|---|---|---|
| Digital | Small runs, quick turnarounds, complex color art | 1-499 | Moderate to High | Good, standard finish |
| Offset | Large runs, major releases, highest quality | 500+ | Low (at scale) | Excellent, professional |
| Thermal | Premium editions, photo-quality on-disc art | 100-1000+ | High | Excellent, glossy, durable |
| Silkscreen | Simple, bold graphics, retro/vintage aesthetic | 1000+ | Low to Moderate | Unique, tactile, vibrant |
Each path offers a different way to create something memorable for your fans. The key is to match the method not just to your budget, but to the story you want your physical music to tell.
Choosing Packaging That Turns Your Album Into an Experience
Before a fan ever hears your music, they interact with its packaging. This is your first impression—a physical handshake that sets the stage for the entire listening experience. A well-chosen package does more than just protect the disc; it tells a story and makes your album feel like a true piece of art.

This decision is a direct reflection of your brand. The right packaging boosts the perceived value of your music and creates that satisfying unboxing moment that fans remember. It’s how you turn a simple CD into collectible merchandise.
The Classic Jewel Case
There's a reason the Jewel Case has been the industry standard for decades. Its hard plastic shell is the most durable option out there, offering serious protection during shipping and on a fan's shelf. Think of it as the hardcover book of the music world—familiar, sturdy, and built to last.
Jewel cases also give you plenty of room for multi-page booklets. If you want to include lyrics, detailed liner notes, or a gallery of photos, this is your best bet. It signals a professional, high-value project right out of the gate.
The Premium Digipak
If you’re aiming for a more boutique feel, the Digipak is a fantastic choice. Made from printed cardstock with a clear plastic tray, it feels less like a container and more like a piece of collectible art. Its foldable panels open up to create a wide, continuous canvas perfect for panoramic visuals and immersive designs that a standard jewel case just can't accommodate.
A Digipak instantly communicates a premium, thoughtful quality. It’s the perfect fit when your album's visual identity is just as crucial as the music itself, offering fans a more tactile, high-end experience.
This focus on a premium physical product is a big reason why CDs are still going strong. Despite the dominance of streaming, the global Compact Disc market is projected to grow from USD 5,246.28 million in 2026 to USD 6,571.56 million by 2035. This demand is fueled by artists using custom CD prints to create unique, tangible merchandise that fans are excited to own. You can explore the market's steady growth on IndustryResearch.biz to see how physical media continues to hold its own.
The Minimalist Sleeve or Jacket
Finally, we have the Sleeve or Jacket. This is your most straightforward and budget-friendly option, essentially a simple cardstock envelope for the disc. It's incredibly lightweight, which helps keep shipping costs down, and its production is quick and affordable.
This makes sleeves a go-to for promotional giveaways, tour-only singles, or any release where you need to manage costs carefully. While you get less protection and have less real estate for artwork, simplicity can be a powerful statement. For an EP or single, a well-designed sleeve feels modern and direct, getting your music into fans' hands with no fuss.
Preparing Flawless Artwork and Design Files
If there's one piece of advice I can give any artist heading into a custom CD prints project, it’s this: nail your design files from the very beginning. Honestly, it's the single best way to sidestep the headaches of delays, surprise costs, and the disappointment of a final product that just doesn't look right. Think of it as your pre-production checklist—get these details locked in, and the rest of the process will go smoothly.

The entire project really pivots on the quality of your print-ready files. While your artwork's concept is pure creative expression, preparing it for print is more of a science. If you’re still in the brainstorming phase, our guide on why artists should invest in quality cover art is a great place to find some inspiration.
Resolution: The Golden Rule of Print
The absolute most critical spec for any print job is resolution, which we measure in DPI (Dots Per Inch). For prints that look sharp and professional, your artwork has to be 300 DPI at the size it will be printed. No exceptions.
Here’s a simple way to think about it. Imagine your image is a mosaic made of tiny colored tiles. At 72 DPI—the standard for web and screens—those tiles are big and clunky. If you print it, you'll see the pixelated edges and blurry details. But at 300 DPI, the tiles are much smaller and packed together tightly, creating a crisp, clear picture. Submitting a low-resolution file is easily the most common—and costly—mistake we see.
Getting Your Colors Right: CMYK vs. RGB
Next up is color mode, a detail that often trips people up. Your computer monitor, phone, and TV all display colors using RGB (Red, Green, Blue), which is a model based on light. Professional printers, on the other hand, use CMYK (Cyan, Magenta, Yellow, Black), a model based on ink on paper.
A design you create in RGB might look incredibly vibrant on your screen, but it can come out looking dull or discolored when it's actually printed. To avoid this, always set up your design files in CMYK from the start. What you see will be a much more accurate preview of what you get.
Taking this one step ensures you won't get that sinking feeling when your brilliant electric blue album cover shows up as a muted navy. It’s all about guaranteeing the colors you chose are the colors that get printed.
Setting Up Bleed and Safety Margins
Have you ever framed a photo and noticed a tiny, annoying white sliver along the edge because it wasn't cut perfectly? That’s what bleed and safety margins are designed to prevent in professional printing.
Bleed Area: This is a little bit of extra artwork that extends beyond the final trim line of your design, usually by about 1/8th of an inch (3mm). During production, the printer prints on a slightly larger sheet and then cuts it down to size. The bleed ensures your background art or color "bleeds" all the way to the edge, leaving no unprinted gaps.
Safety Margin: This is an inner boundary, also about 1/8th of an inch from the trim line. You’ll want to keep all your important elements—like text, logos, or key parts of a face—inside this zone. This prevents anything critical from getting accidentally chopped off during the final trim.
Finally, make sure you're saving and submitting your files in the right format. Most printers will ask for a print-ready PDF, but some might want the native design files from a program like AI (Adobe Illustrator). Following these technical specs is your best insurance policy for getting flawless custom CD prints every time.
Budgeting Your Project and Navigating Turnaround Times
Alright, let's talk about the two things that can make or break your physical release: money and time. Getting your head around the budget for custom CD prints isn't about limiting your creativity—it's about making smart decisions so you end up with a product you're proud of, without any nasty financial surprises.
Think of it this way: knowing your numbers gives you a clear roadmap. You can decide where to spend and where to save, ensuring your vision comes to life without breaking the bank.
The biggest lever you can pull on cost is order quantity. It’s a simple rule of printing: the more you make, the less you pay for each individual CD. That's why printing 500 units with an offset press almost always works out cheaper per disc than a small batch of 100 printed digitally. It’s all about economies of scale.
Beyond the number of discs, the packaging and printing choices you make will shape your final invoice. A full-color, 8-panel Digipak is a beautiful piece of art, but it will cost more than a straightforward, black-and-white print on a simple cardstock sleeve. It’s a constant balance between wow-factor and wallet.
Understanding Cost Factors
To get a realistic grip on your budget, you’ll need to weigh these variables:
- Printing Method: As we've covered, digital printing is your go-to for small runs (under 500). For anything larger, offset printing is where you’ll find the real value.
- Packaging: Jewel cases, Digipaks, and sleeves all sit at different price points. The more intricate you get—like adding multi-page booklets—the more the cost will creep up.
- Finishes: Want to add a little something extra? Special touches like matte coatings, gloss varnishes, foil stamping, or using recycled paper can add a premium feel, but they also add to the per-unit cost.
If you find your budget is getting tight, here’s a pro tip: simplify the packaging. It’s a much better compromise than cutting corners on the essentials, like professional mastering or killer artwork. If you're looking for other ways to keep your project finances in check, our guide on what it really costs to record a song offers a ton of great advice for managing the entire process.
Planning Your Production Timeline
Just as critical as the money is the clock. How long will this actually take? A standard production run for custom CDs usually falls somewhere between 7 to 15 business days. This window can change depending on how complex your order is and how busy the printer is at that moment.
Always, always confirm turnaround times with your printer before you announce a release date. Rushing a project is a recipe for disaster. It not only costs a fortune in rush fees but dramatically increases the chance of mistakes.
And don't forget the final leg of the journey: shipping. It can easily add another week, sometimes more, before the boxes land on your doorstep. The best strategy is to work backward from your launch day. Pad your timeline generously to account for production, shipping, and any unexpected hiccups. This foresight ensures you’ll have your merch in hand, ready for your fans, long before the big day arrives.
Selling and Marketing Your Custom CDs Effectively
Alright, you’ve got a stack of freshly pressed CDs—they look and sound incredible. That’s a fantastic milestone, but the work isn’t over. Now it's time to get them into the hands of your fans by treating them as what they are: premium merchandise, not just a disc of music.
A common mistake artists make right out of the gate is ordering way too many copies to chase a lower per-unit cost. It’s tempting, I get it. But you’re far better off starting with a conservative run of 100 to 250 units. This keeps your upfront investment low and saves you from having a garage full of unsold CDs. You can always press more when they sell out.
Pricing and Bundling for Maximum Impact
So, how much should you charge? The 3x-4x markup strategy is a solid industry standard. If your all-in cost for each CD (printing, packaging, and all) is $3, pricing it between $9 and $12 is the sweet spot. This approach ensures you cover your costs, recognizes the value of your art, and gives you a healthy margin to pour back into your music.
But don't just sell the CD by itself. This is where you can get creative and give your fans something they can't resist. Bundling is your best friend here.
- The Merch Bundle: Pair the CD with a t-shirt, some stickers, or a poster. Fans often jump at the chance to grab a package deal that feels like a good value.
- The Digital + Physical Bundle: This one is huge. Sell the physical CD and give them an instant download of a bonus track, an acoustic version of a favorite song, or even a PDF of handwritten lyrics. Instant gratification meets tangible art.
- The Experience Bundle: Create a high-ticket item by bundling the CD with something truly unique—a signed copy, a personal thank-you video, or a ticket to a private online listening party.
Of course, managing your digital assets is a key part of the modern music business. Learning to efficiently host MP3 files is a practical skill that complements your physical sales and keeps your entire distribution strategy streamlined.
Using the Right Platform for Direct Sales
Where you sell your CDs is just as important as how you price them. Sure, you can list them on big third-party marketplaces, but they’ll take a hefty cut of every sale. The real power lies in selling directly to your audience on a platform built for artists, like OohYeah.
Going direct-to-fan means you keep 100% of the sales revenue. For an independent artist, that's a complete game-changer. It also puts you in the driver's seat, giving you full control over your products, bundles, and—most importantly—your relationship with your fans.
This direct connection is invaluable. You're not just processing a transaction; you're building a loyal community around your work. For a deeper dive into this, check out our guide on the best ways to sell music online. When you pair great music with a smart sales plan, your custom CD becomes a powerful piece of your brand.
Your Top Questions About Custom CDs, Answered
Even after you've got the basics down, a few questions always seem to pop up right before you hit "order." Let's tackle the most common ones we hear from artists so you can move forward with confidence and get your project rolling.
What Is the Minimum Order for Custom CDs?
This is a big one, and the answer comes down to your printing method.
For smaller, more flexible runs, digital printing is your best friend. It’s perfect for testing the waters or creating a limited-edition drop, with minimums often as low as 50 units.
On the other hand, offset printing is all about economy of scale. You’ll need to commit to a larger run—usually 500 or 1,000 units at a minimum—but your cost for each individual CD drops significantly. It's a trade-off between upfront investment and long-term profitability.
The real question isn't just "how many can I order?" but "how many should I order?" Starting small with a digital run lets you test the market without a huge upfront investment.
Can I Include Lyrics in My CD Packaging?
Absolutely! In fact, you definitely should. Including lyrics and other personal touches is one of the best ways to make your physical CD a true collector's item and give your fans a deeper look into your work.
Both Digipaks and Jewel Case booklets give you plenty of space to get creative. Think beyond just the cover art and consider adding:
- The full lyrics for every song
- Detailed liner notes about your writing or recording process
- A personal thank-you note to your supporters
- Behind-the-scenes photos from the studio or a photoshoot
How Much Should I Charge for My CD?
Figuring out pricing can feel tricky, but there’s a simple rule of thumb that works wonders. Aim to price your custom CDs at 3 to 4 times what it cost you to make each one.
For example, if your all-in production cost is $2.50 per unit, a retail price between $8 and $10 is a great starting point. This ensures you not only cover your costs but also make a profit that reflects the premium value of a physical, tangible piece of your art.
Ready to sell your new custom CDs without giving up a chunk of your revenue? Get started with OohYeah today and take full control of your merch sales. Learn more about selling with OohYeah.