How to Enhance Audio: Simple Tools & Tricks for Better Sound
Learn how to enhance audio quality with free & pro tools. Reduce noise, boost clarity, and get studio-sound results—no experience needed.

September 26, 2026
Music Marketplace Advisor
Buying & SellingIf you're selling music gear online, your audio quality matters. A lot. Buyers want to hear what they're getting—crisp demos, clear descriptions, honest reviews. But not everyone has access to a professional studio or thousands of dollars in gear. The good news? You don't need it. We're going to walk you through how to enhance audio without breaking the bank or needing a degree in sound engineering.
Whether you're selling used guitars, microphones, or recording equipment on OohYeah, better audio instantly builds trust with buyers. They hear quality, they trust you. It's that simple.
What Does "Enhance Audio" Actually Mean?
To enhance audio means cleaning up, improving, and polishing your recordings so they sound more professional and clear. This includes reducing background noise, boosting volume, adjusting EQ (the balance of high and low frequencies), and smoothing out rough edges.
Think of it like this: your raw recording is a rough diamond. Enhancing audio is the polishing process that makes it shine.
You're not changing what you're saying or doing—you're just making it sound better. Buyers listening to your gear demo should hear the instrument or equipment clearly, without distracting hum, background chatter, or audio artifacts.
Start With Quality at the Source
Before you enhance anything, capture good audio from the start. This is the foundation everything else builds on.
- Find a quiet space. Bedrooms, closets, or carpeted rooms naturally absorb sound. Avoid kitchens and bathrooms—they echo like crazy.
- Minimize background noise. Turn off fans, AC, traffic outside. Even your phone on silent can help.
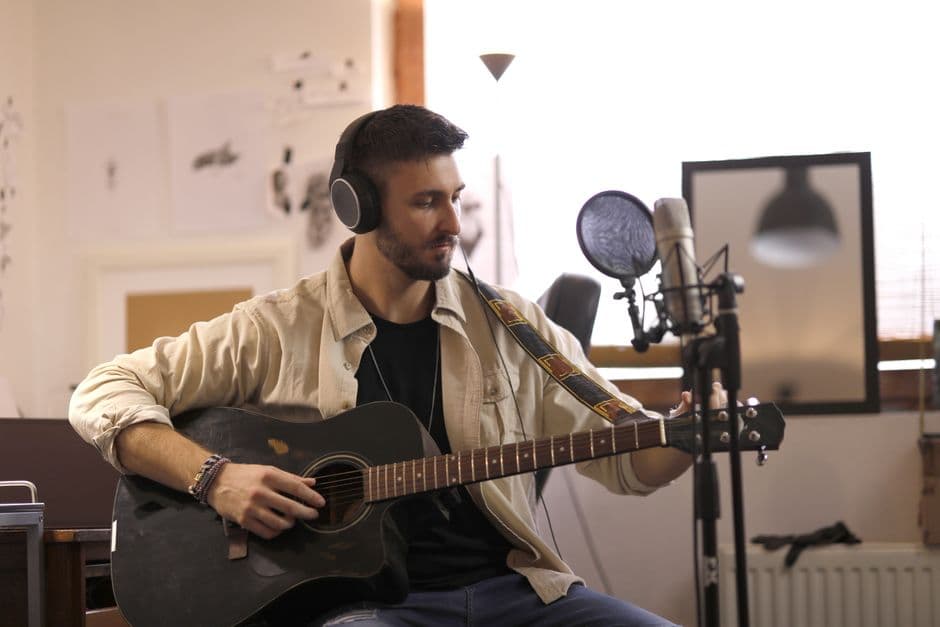
- Use a decent microphone. You don't need a $500 condenser mic. A USB microphone ($50-150) blows phone mics out of the water and connects straight to your computer.
- Keep distance and angle. Speak or play 6-12 inches from the mic, slightly off-axis. This reduces plosives (harsh "p" and "b" sounds) and captures cleaner tone.
If you're already recording with what you have, don't stress. Enhancement tools can fix a surprising amount of imperfection.
Free Tools to Enhance Audio Online
No login, no credit card, no commitment. These are genuinely free and work on MP3s, WAV files, video audio, and more.
Auphonic is the heavy hitter here. Upload your file, and it automatically detects and reduces noise, levels out volume inconsistencies, and even removes reverb. It's designed for podcasters and producers, but it works perfectly for gear demos and product videos. The free tier lets you process one file per month at standard quality—which is plenty for most sellers.
EQ tools like Equalizer APO (Windows) or Audacity (free, all platforms) give you visual control over frequencies. Too much bass rumble? Pull it down. Need more presence in vocals or instrument clarity? Boost the mids. It looks technical, but tutorials walk you through every step.
Noise reduction plugins in Audacity are simple: select a 1-second sample of just the background noise, click "Get Noise Profile," then apply noise reduction to the whole file. It's like magic the first time you try it.
YouTube also has built-in audio enhancement. Upload unlisted videos, use YouTube Studio's audio library to add royalty-free background music or sound effects, and re-download. Not perfect for all use cases, but useful for quick product videos.
When You're Ready to Level Up

Once you get comfortable with the basics, investing in software pays off—especially if you're regularly creating demos, tutorials, or marketing content for gear you're selling.
- Adobe Audition is the industry standard. It costs money but gives you professional-grade noise reduction, EQ, compression, and effects. If you're serious about your audio brand, this is worth it.
- iZotope RX Elements specializes in audio cleanup. It finds and removes clicks, pops, hum, and other unwanted noise intelligently. Perfect for old vinyl recordings or vintage gear demos.
- Waves plugins are trusted by studios worldwide. Pricey, but you're getting tools used on platinum records.
You don't need all of these. One or two solid tools that fit your workflow beats trying to juggle five different programs.
Audio Enhancement for Different Content Types
Gear demos: Isolate the instrument or equipment sound. Minimize room noise. A little gentle compression evens out dynamic spikes (loud and soft moments). Buyers want to hear the true character of what you're selling, so don't over-process it.
Podcast or voiceover: Enhance vocal clarity first. Reduce low rumble (usually 80-120 Hz), boost presence (2-5 kHz). Then add a light compressor to keep volume steady. Finish with limiting to prevent clipping on loud words.
Video product demos: Make sure dialogue is clear and at least 3dB louder than background music or ambient sound. Music should sit underneath, not compete. If your video has multiple audio sources, mix them so they blend naturally instead of fighting.
Live recordings or band performances: Expect more background noise. Focus on clarity and even the mix between instruments. Reverb reduction helps if you recorded in a large space. A little added reverb can actually help tie everything together if it sounds too dry.
The Strategic Side: Why Audio Matters When You're Selling
This goes beyond just sounding good. When you sell on a marketplace like OohYeah, you're building a direct relationship with buyers. Professional-sounding audio says: "I care about quality. I'm serious about this. You can trust me."
Studies show voice commerce and audio-first retail experiences are growing fast. Buyers increasingly trust sellers who communicate clearly. A demo video with crystal-clear audio of that vintage amp's tone? That sells. A product description with a crisp walkthrough of features? That converts.
Better audio also opens new marketing channels. You can repurpose enhanced demos into YouTube clips, TikTok videos, or social media content. A polished, professional-sounding clip spreads further than a muddy recording. Reach more buyers. Sell more gear.
Quick Checklist Before You Upload
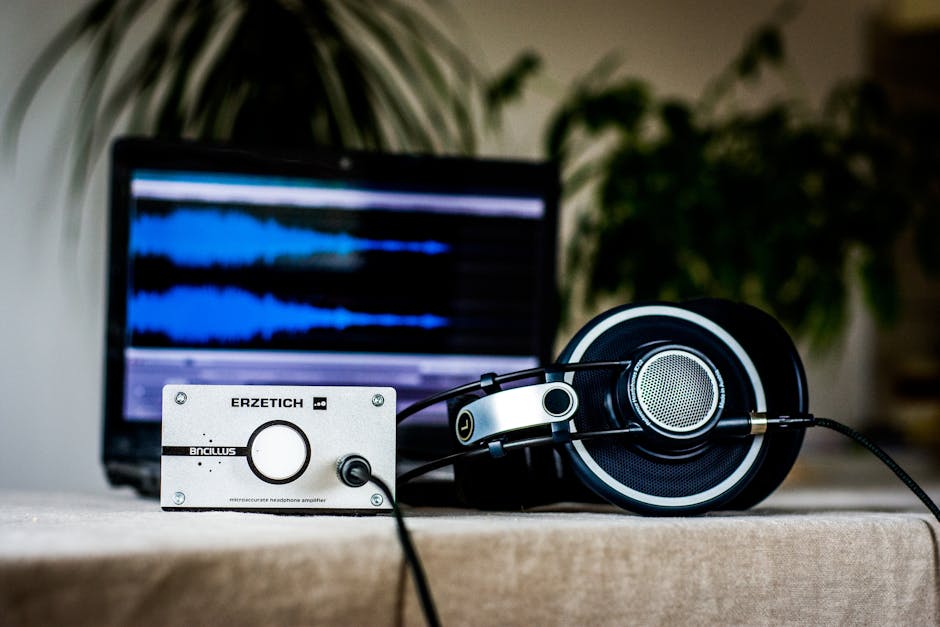
Once you've enhanced your audio, run through this before publishing:
- Play it back on different devices (phone, laptop, car speakers, headphones). Does it sound good everywhere?
- Is the volume consistent? No sudden loud spikes or quiet dips?
- Can you hear everything clearly? Background noise is minimal, not distracting?
- Does it match your brand? If you're a professional studio, it should sound like it. If you're a hobbyist, authentic is fine—just clean.
- Is the file format right for your platform? MP3 for most web, WAV for archival, AAC for Apple devices.
Take an extra 10 minutes here. It's the difference between a buyer who clicks away and one who buys.
Common Mistakes to Avoid
Over-processing. More tools doesn't mean better results. A little noise reduction and EQ goes a long way. Over-compressed audio sounds unnatural and tired. Trust your ears.
Ignoring the source. You can't polish garbage. Spend more time recording clean audio than trying to fix bad recordings in post-production.
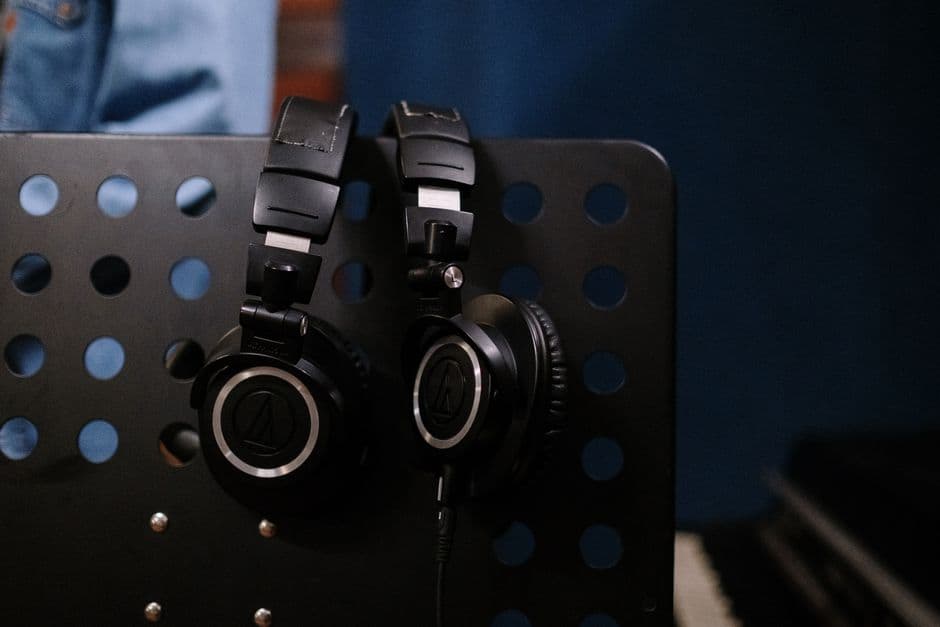
Forgetting headphones. Always monitor with decent headphones while editing. Laptop speakers lie. Headphones tell the truth about what you're really hearing.
Not backing up originals. Always keep your raw, unprocessed files. You might want to re-edit them later or try a different approach. Non-destructive editing (where you keep the original) is your friend.
If you want to make sure your gear listings stand out, quality audio in your demos is non-negotiable. Pair enhanced audio with clear product photos, honest descriptions, and fair pricing. That's the formula that works on OohYeah and beyond.
Enhance Audio: Final Thoughts
You don't need a studio to sound like you have one. Simple, free tools combined with good recording practices get you 80% of the way there. The last 20% comes from practice and listening critically to your own work.
Start with Audacity or Auphonic. Spend 20 minutes learning noise reduction and basic EQ. Apply it to one piece of content. Listen back. Notice the difference. You'll be hooked.
Your gear deserves to be heard clearly. Your buyers deserve to know exactly what they're getting. Enhanced audio makes that happen. And when you're selling on a commission-friendly platform like OohYeah, every advantage—including professional-sounding demos—helps you keep more of what you earn and build real connections with customers.
How do I enhance audio without special software?
Use free online tools like Auphonic, Audacity, or YouTube's built-in features. They handle noise reduction, volume leveling, and basic EQ without installing anything. Audacity is the best free option—download once, use forever.
Can I enhance audio that's already been recorded?
Yes. Noise reduction, EQ, and compression can fix a surprising amount. But it's easier to record clean audio from the start than to rescue a bad recording. Prevention beats correction every time.
What's the difference between audio enhancement and audio editing?
Enhancement means improving quality (cleaning up noise, balancing levels, boosting clarity). Editing means cutting, rearranging, or restructuring content (trimming silence, removing mistakes, combining multiple files). You usually do both.
How long does it take to enhance audio?
Simple files (under 10 minutes) usually take 5-15 minutes with free tools. Professional-grade enhancement for complex projects might take hours. Start simple and scale up as your skills grow.