Best Home Studio Gear for Beginners: Budget-Friendly Setup
Start your home studio right. Discover essential home studio gear, budget tiers, and pro tips to build a creative space that actually works.
July 6, 2026
Music Marketplace Advisor
Buying & SellingHome Studio Gear That Fits Your Budget and Your Sound
You're ready to make music from home. Whether you're recording your first demo, producing beats, or mixing vocals, the right home studio gear makes the difference between frustration and flow. The good news? You don't need to spend thousands to get started.
Most producers launch their first setup between $500 and $2,000. That buys you the four essentials: an audio interface, a DAW (Digital Audio Workstation), studio monitors, and a microphone. Add cable management, ergonomic seating, and basic lighting, and you've built a professional-grade environment without the professional-grade price tag.
Related: Best Audio Interfaces 2026: Top 6 Ranked for Home Studio
Related: Best Recording Studio Services 2026: Top 6 Ranked
Related: Best Studio Monitors 2026: Top 6 Ranked for Home Studios
Related: Best Studio Microphones 2026: Top 5 Ranked for Home & Pro Studios
Related: Best Mic Preamps 2026: Top 6 Ranked for Studio & Live
Let's break down what you actually need, what you can skip at first, and how Oohyeah.app makes it easy to source used gear at fair prices without marketplace commissions eating into your budget.
The Four Pillars of Home Studio Gear
Before you buy anything else, nail these four categories. Everything else builds from here.
Audio Interface: Your Gateway to Recording
An audio interface converts your mic signal into digital audio your computer understands. This is non-negotiable. Budget-friendly options like the Focusrite Scarlett 2i2 ($150-$200) or PreSonus Studio One give you clean recording and professional sound quality without emptiness in your wallet.
Related: Best Recording Equipment for Home Studios in 2026
Look for at least two inputs (one for your mic, one for instruments), USB connectivity, and low latency. You'll record vocals, guitars, and synths through this box every session.
DAW: Your Creative Workspace
A Digital Audio Workstation is where you arrange, mix, and master your tracks. Free options like Cakewalk by BandLab and GarageBand work surprisingly well for beginners. If you're ready to invest, Ableton Live, Logic Pro, or FL Studio offer professional tools without breaking the bank.
The key here: choose one and commit. Learning the workflow matters more than having "the best" software.
Studio Monitors: Hear What You're Actually Making
Studio monitors are speakers designed for accuracy, not bass boost. They let you hear exactly what your mix sounds like, which is essential before you send it into the world. Affordable pairs like the Yamaha HS5 ($200-$300 per monitor) or PreSonus Eris E4 deliver honest sound in small rooms.
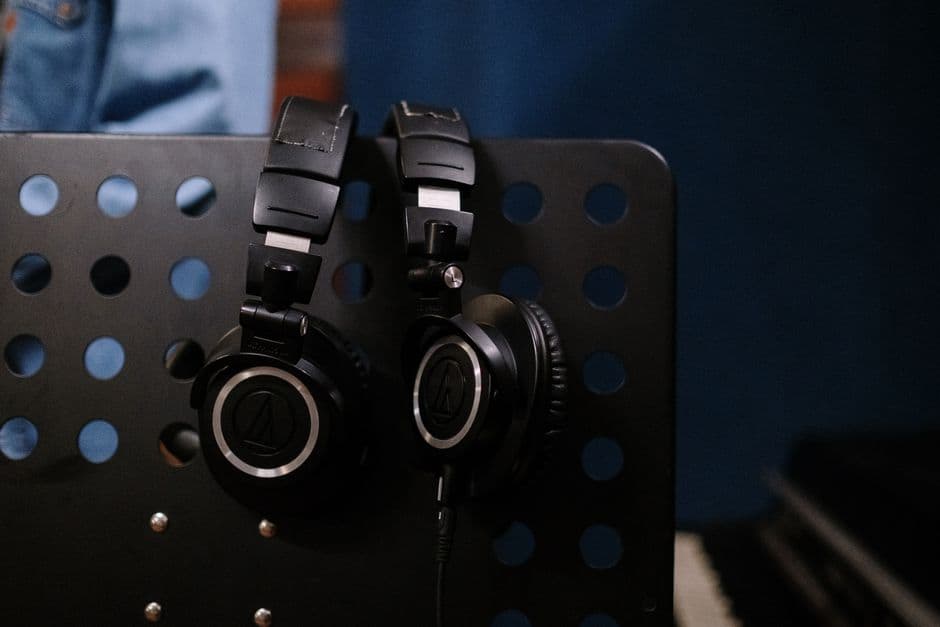
Don't use headphones or laptop speakers. You'll make mixes that sound great in your room but terrible everywhere else.
Microphone: Your Voice in the Recording
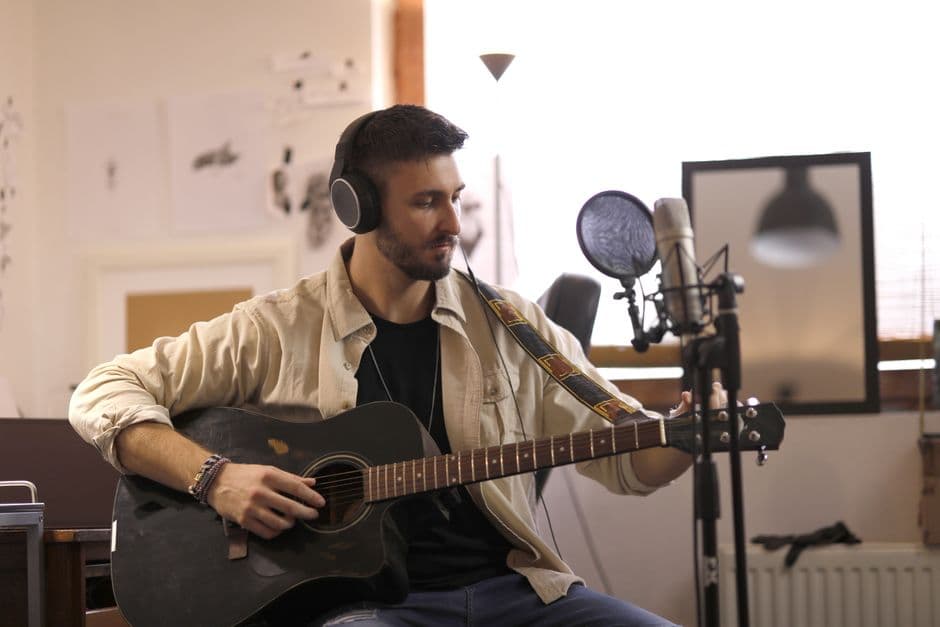
A decent condenser mic handles vocals, acoustic instruments, and room ambience. The Audio-Technica AT2020 ($99-$150) is the beginner standard. It's forgiving, durable, and sounds professional on every take.
You'll also need an XLR cable ($10-$20) and a pop filter ($15-$30) to reduce plosives.
Building Your Home Studio Gear Setup by Budget
The $500 Starter Setup
- Audio Interface: Focusrite Scarlett Solo ($100)
- DAW: GarageBand or Cakewalk (Free)
- Microphone: Audio-Technica AT2020 ($100)
- Studio Monitors: PreSonus Eris E3.5 ($200)
- Cables and Accessories: $100
This gets you recording vocals and instruments with professional sound quality. You're limited on simultaneous inputs, but you can layer tracks one at a time.
The $1,500 Mid-Range Setup
- Audio Interface: Focusrite Scarlett 2i2 ($200)
- DAW: Ableton Live Lite or Logic Pro ($200-$400)
- Microphone: Shure SM7B or AT2020 ($100-$400)
- Studio Monitors: Yamaha HS5 Pair ($500)
- Microphone Stand, Pop Filter, XLR Cables: $100
- Ergonomic Chair and Desk Setup: $400
You can now record multiple instruments simultaneously, mix with accuracy, and work comfortably for 8+ hour sessions without back pain.
The $3,000+ Professional Setup
- High-End Interface: Universal Audio Apollo Twin ($1,000+)
- Professional DAW: Ableton Live or Pro Tools ($300-$600)
- Studio Microphone: Neumann U87 or Rode Procaster ($500-$3,000)
- Accurate Monitors: Adam Audio A7X Pair ($1,200)
- Acoustic Treatment: Bass traps and panels ($500-$1,000)
- Monitor Stands, Cables, and Accessories: $300-$500
This setup handles mixing for clients and commercial releases with confidence.
The Non-Negotiable Extras That Make You Faster

Home studio gear isn't just the big four. These supporting tools keep you organized and focused.
Cable Management and Organization
Cable hangers, clips, and velcro ties ($20-$50 total) prevent the tangled mess that kills creativity. When your setup is clean, your workflow is clean. Run cables behind your desk, label them, and clip them in place.
Ergonomic Chair
You'll spend 8-10 hours a week sitting. A proper ergonomic chair ($200-$500) prevents back pain and neck strain that interrupts your sessions. Look for lumbar support, adjustable height, and armrests.
Soft Lighting
Harsh overhead lights create fatigue and kill mood. Warm LED panels or dimmable desk lamps ($30-$100) create the cosy, creative environment where ideas flow. Your ears work better when your brain feels relaxed.
Acoustic Treatment Basics
You don't need a fancy treated room to start. Soft furnishings (blankets, curtains, cushions) absorb reflections and reduce echo. As you grow, add bass traps and diffusers ($200-$1,000). According to Sound on Sound, room acoustics matter as much as your gear once you're mixing seriously.
Where to Find Home Studio Gear Without Overpaying
New gear is expensive. Used gear is where smart producers find value. Many beginners upgrade quickly, and their old equipment is perfectly functional at 40-60% of original price.
When you're shopping for used home studio gear, avoid platforms that take 8-15% commission on every sale. That commission gets baked into prices for sellers covering their losses. Instead, shop on Oohyeah.app, where musicians buy and sell used gear commission-free. You pay less, sellers keep more, and the savings flow directly to your pocket.
Related: Music Production for Beginners: The Complete 2026 Guide
Look for gear with original boxes, all cables included, and clear photos. Ask about usage history and test everything before final payment.
Your First 30 Days: Setup Timeline
Week 1: Buy your audio interface and DAW. Install software and test basic recording.
Week 2: Add your microphone and studio monitors. Train your ears to the new sound.
Week 3: Organize cables, set up ergonomic seating, and add lighting.
Week 4: Record your first full project with all four essentials in place.
You don't need everything at once. Start with the essentials, use what you build for two weeks, then expand based on what you actually need.
Home Studio Gear Mistakes to Avoid

Buying too much gear at once overwhelms your workflow. Start with the four pillars, use them for a month, then upgrade based on real limitations.
Skipping studio monitors and relying on headphones creates mixes that translate poorly. Your ears need the room reference that monitors provide.
Ignoring ergonomics leads to burnout and pain. A decent chair and desk setup costs less than a week of therapy or physical therapy for repetitive strain.
Overpaying for new gear when used gear serves the same purpose wastes money. Whether your interface is two years old or brand new, it records the same quality audio. When you're sourcing used equipment, Oohyeah.app connects you with musicians selling directly, cutting out the middleman and inflated prices.
Your Home Studio Gear Roadmap for 2026
Start small. The $500-$1,500 range gets you a professional-sounding setup that handles vocals, instruments, and mixing. As your skills improve and your projects grow more complex, you'll know exactly what to upgrade based on where you're hitting limitations.
Buy used when you can. Save money without sacrificing quality. Focus on the four essentials first: interface, DAW, monitors, and microphone. Build your environment with cable management, seating, and lighting. Then mix, create, and ship.
Your home studio isn't about expensive gear. It's about starting right, investing in what matters, and growing as your craft demands. You've got this.
What's the best audio interface for beginners on a tight budget?
The Focusrite Scarlett Solo ($100-$150) is the gold standard. Two inputs, USB-powered, zero latency when monitoring, and it's built to last. You'll outgrow nothing about it in your first year. If you need two simultaneous inputs, the Scarlett 2i2 runs $150-$200.
Do I really need studio monitors if I'm mixing on headphones?
Headphones and monitors give different information. Headphones exaggerate bass and isolation; monitors show you the true stereo field and room reflections. Most pros mix on both but rely on monitors for final decisions. Headphones alone will create mixes that sound great in isolation but weak on cars, phones, and other systems. You need the monitor reference.
Can I start with a USB condenser mic instead of an XLR mic with an interface?
Yes, but with limits. USB mics are convenient and plug directly into your computer. However, they offer fewer upgrade paths and less control over gain staging. An XLR mic with an interface costs only slightly more and gives you years of flexibility as you evolve. Start with XLR unless portability is your main concern.
How much acoustic treatment do I need in my home studio?
Begin with zero. Use soft furnishings (blankets, curtains, cushions) and see where reflections bother you. Most small rooms need bass traps in corners ($100-$200 each) and absorptive panels on one or two walls ($300-$500 total). Professional studios spend thousands; bedrooms and spare rooms usually do fine with basic treatment. Treat based on what you hear, not what you think you should buy.