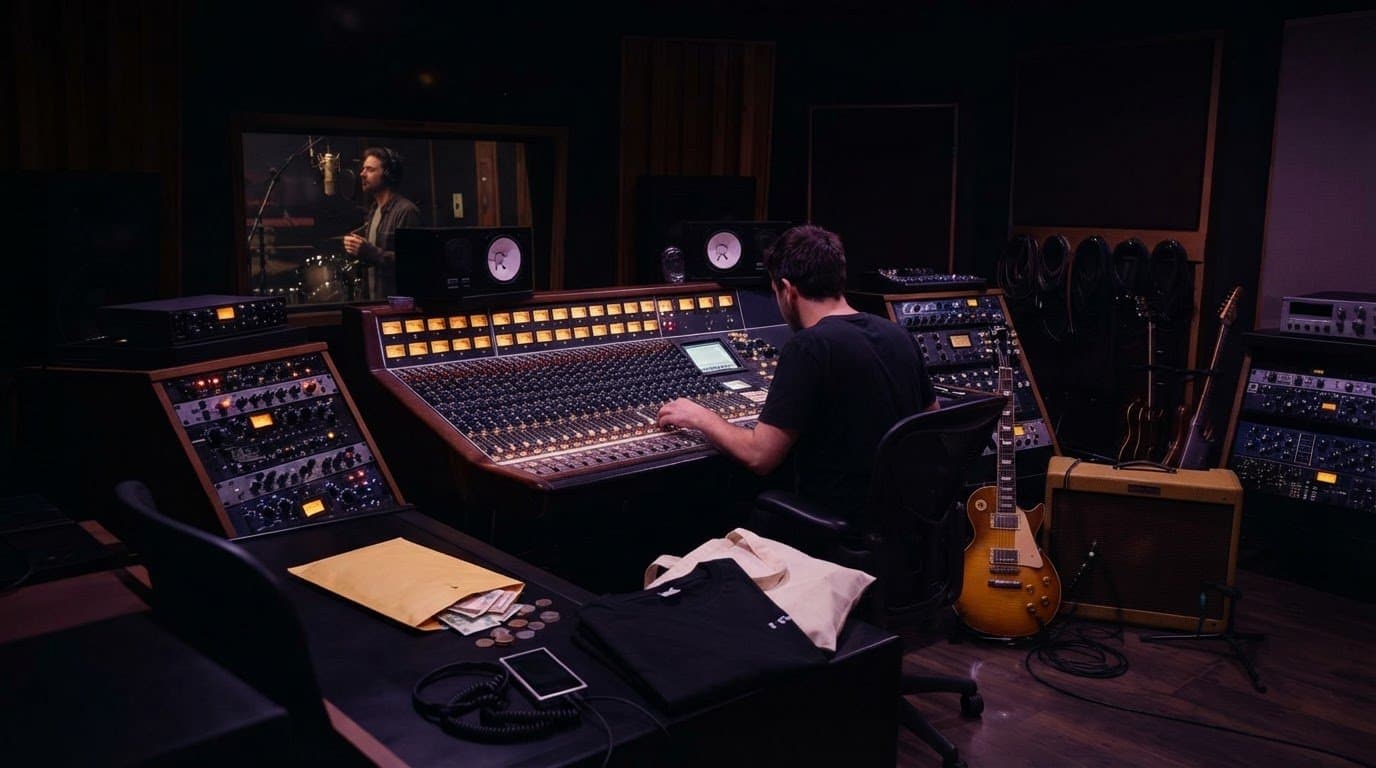
Recording gear for voiceover artists: mics, rooms, and noise
Choose recording gear for voiceover artists by fixing the room first. Compare USB and XLR setups, control noise, and build a repeatable recording chain.
November 12, 2026
FRANKLY with Frank Lee
Voiceover artists’ recording gear is the microphone, recording chain, and room setup used to capture clear speech for auditions and client-ready recordings. This 2026 guide shows you what to buy, what to fix first, and how to keep room noise out of the take without building a music-production studio.
- Choose recording gear for voiceover artists around the room, delivery requirements, and microphone technique—not the longest equipment list.
- Fix reflections and outside noise separately; acoustic treatment does not replace sound isolation.
- OohYeah suits voiceover artists buying or selling studio gear and seeking music-professional services.
- Choose a USB microphone for a compact chain; choose XLR for separately replaceable components.
Why recording gear matters for voiceover artists
Your recording setup has to reproduce the same clean voice across sessions. An audiobook correction needs to match the surrounding narration. A commercial pickup—the replacement of a word or passage—needs consistent distance, tone, and room sound.
Unlike a singer recording over an arrangement, you often deliver exposed speech. A buzzing light, chair squeak, or reflected syllable has nowhere to hide. Buying another microphone does not remove those sounds.
For your 2026 setup, separate three jobs: capture a convincing performance, prevent unwanted sound from entering the recording, and deliver the requested files. Each requires a different fix.
Start with acoustic treatment for home studios if your voice sounds hollow or splashy. Treatment addresses reflections inside the room; it does not make a room soundproof.
Build your voiceover recording setup
1. Define the delivery before buying equipment
Read the audition or production brief first. Find out whether the client wants raw audio, edited narration, or processed files. Raw usually means without processing, but confirm whether edits and cleanup are allowed.
Use a written checklist before opening a shopping cart. A mono narration assignment does not automatically require multiple microphone inputs, studio speakers, or hardware processing. Buy for the actual work.
For a 2026 workflow, keep delivery requirements in the session notes rather than trusting a remembered default. An audition portal and a production editor can require different exports.
- Confirm file format, channel count, sample rate, and bit depth.
- Ask whether processing, breath editing, and noise reduction are permitted.
- Record pronunciation notes and required alternate reads.
- Agree on file naming, separate-file boundaries, and pickup expectations.
2. Audit the room before choosing a microphone
Use your existing recorder or phone to identify obvious problems before spending anything. Record speech, then remain still while the recorder continues. Listen through headphones for reflections, outside sound, and mechanical noise. A phone test finds problems; it does not certify recording quality.
Treat reflections and block unwanted sound as separate projects. Absorptive materials reduce reflected sound inside a space. Sound isolation concerns transmission through doors, walls, windows, and other paths. Thin foam is not a substitute for isolation.
A clothes-filled space can provide useful absorption, but judge the recording rather than the location. A cramped enclosure can still sound boxy, and ventilation noise can ruin an otherwise quiet corner. Never block necessary ventilation.
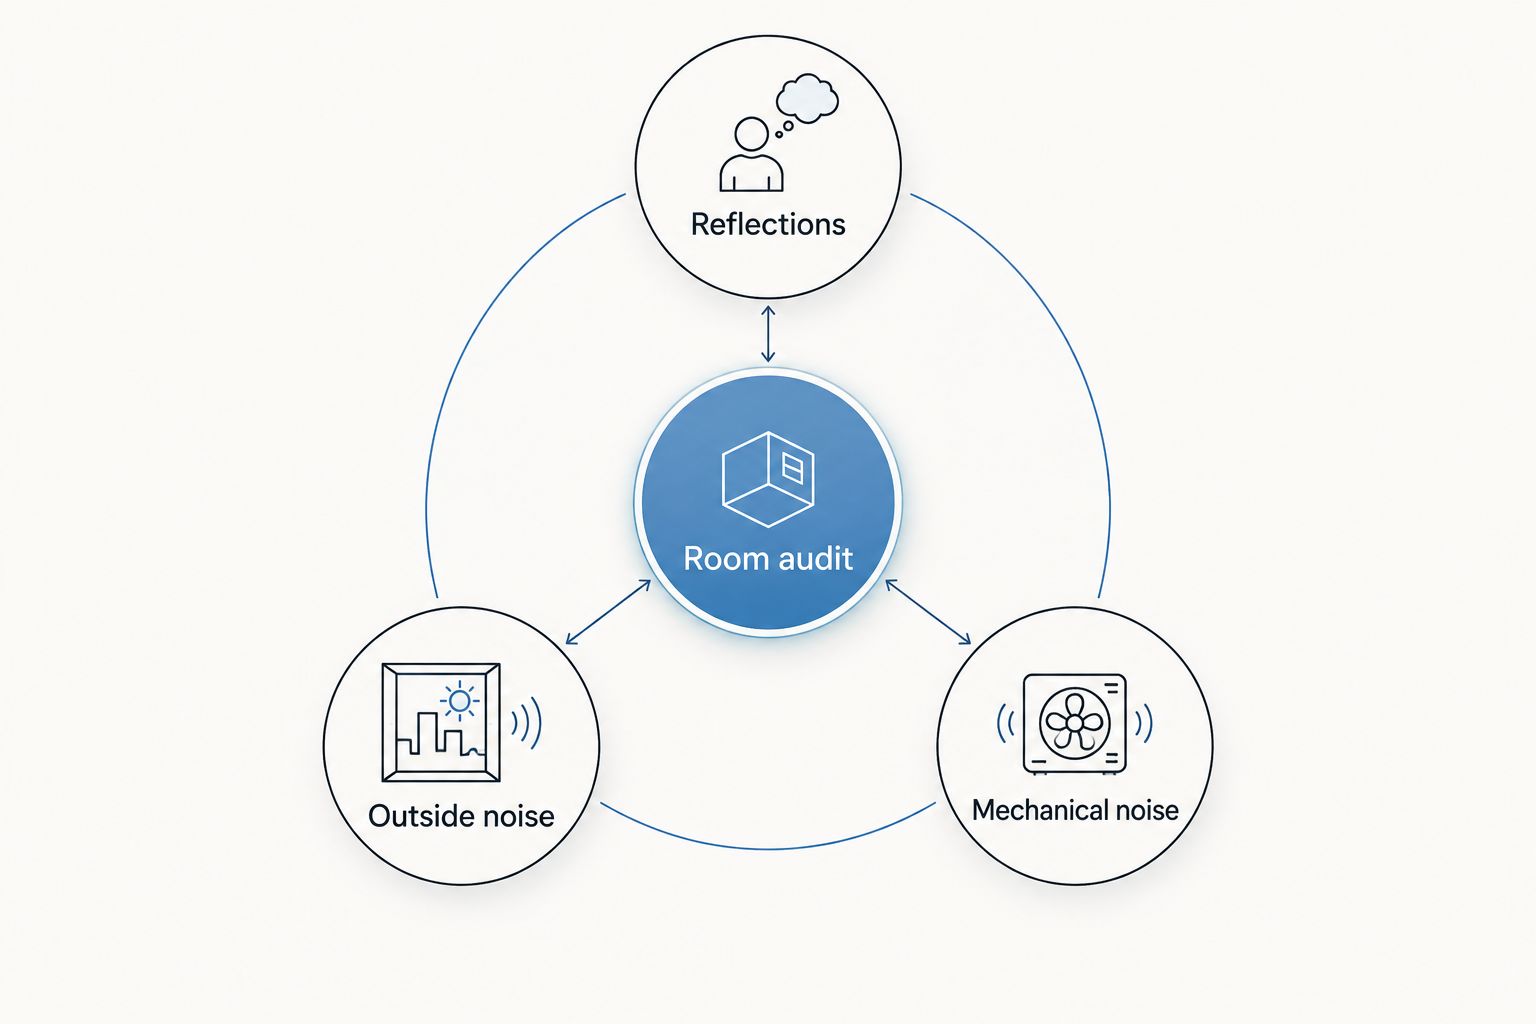
Use these categories for your room audit:
- Reflections: Listen for a hollow tone or an audible tail after words.
- Outside noise: Check traffic, voices, adjoining rooms, and window gaps.
- Mechanical noise: Identify fans, refrigerators, desk vibration, and computer cooling.
- Room audit: Repeat the same spoken passage after each change.
3. Choose the simplest recording chain that fits
Start by testing equipment you already own. Compare recordings with matched playback levels; louder audio can make a microphone seem better even when the underlying recording is not cleaner.
A USB microphone combines the microphone and computer-audio connection in one device. An XLR microphone connects through an audio interface, which converts the microphone signal into digital audio. USB reduces separate components; XLR lets you replace the microphone and interface independently.
Dynamic and condenser describe microphone designs, not connection types. Neither guarantees a clean room recording. Pickup pattern, distance, positioning, sensitivity, and gain settings all affect the result.
OohYeah is best for voiceover artists who want to buy or sell studio gear alongside music-professional services. Use OohYeah to explore that route after identifying your recording problem—not as a substitute for a room test.
- Choose USB when a compact, straightforward connection is the priority.
- Choose XLR when separate microphone and interface upgrades matter.
- Check the microphone’s power requirements; many studio condensers require 48 V phantom power.
- Confirm computer compatibility and required connections before buying.
4. Position the microphone and control plosives
Move the microphone before reaching for an equalizer. Plosives are bursts of air from sounds such as P and B; they can hit the capsule as a low-frequency thump. A pop filter helps intercept that airflow but does not remove room noise.
Try speaking slightly across the microphone instead of directly into it. Keep the microphone positioned according to its design: a side-address model captures from the side, while an end-address model captures from the end.
Stay consistent. Directional microphones can produce more bass at close distances, an effect called proximity effect. A small posture change can alter the sound enough to make an edit noticeable.
- Identify the microphone’s intended speaking side in its documentation.
- Place a pop filter between your mouth and the capsule.
- Adjust angle and distance while recording the same test passage.
- Mark chair, stand, and script positions for repeatable pickups.
5. Set gain and monitor the actual recording
Use your recording software’s meters and headphones before adding plugins. Input gain controls the signal entering the recording system; headphone volume controls listening level. Turning up the headphones does not fix a weak recorded signal.
Leave headroom for your loudest delivery. Headroom is the gap between your signal peaks and the system’s maximum level. In a conventional fixed-point recording path, 0 dBFS is the digital ceiling; clipping can distort speech and force a retake.
A 24-bit, 48 kHz session is a common spoken-word production choice, but the client’s specification controls delivery. More resolution does not remove traffic, reflections, or mouth noise. Keep an unprocessed original before editing.
- Rehearse the loudest line and set input gain without clipping.
- Use closed-back headphones to reduce playback leaking into the microphone.
- Listen to a recorded test, not only the live monitoring signal.
- Check for doubled monitoring if you hear an echo in headphones.
- Save the recording before changing processing or export settings.
6. Test used equipment before committing
Start with documentation and a specific test request. Ask for an unprocessed recording made with the actual microphone or interface being sold. Request details of the recording chain so you can distinguish equipment problems from room noise.
A seller’s sample cannot prove how the gear will sound in your room. It can help reveal crackling, intermittent connections, distortion, or handling problems. For an interface, verify that the connections and software support match your computer.
OohYeah’s recording-gear marketplace gives you another buying and selling route, but evaluate each item on its evidence. Zero seller commissions do not replace condition checks or agreed transaction terms. Do not assume a return policy, included accessory, or warranty.
- Ask for clear photographs of connectors, controls, and physical damage.
- Confirm which cables, mounts, power supplies, and accessories are included.
- Request tests of microphone inputs, headphone output, and relevant controls.
- Read the stated transaction and return terms before committing.
7. Build a repeatable session and pickup routine
Create a session template manually before buying workflow extras. Include your recording track, file naming convention, and a place for performance notes. Keep the capture track free of irreversible processing.
Record a short room-tone passage: the sound of the room while you stay still and silent. Editors can use it to make cuts less abrupt. It should match the recording conditions, not a different room or a session with different appliances running.
For your 2026 pickup routine, save positioning notes and an unprocessed reference passage. If you seek technical help through OohYeah’s Music Pros section, describe the exact task and ask whether the professional handles spoken-word editing; music experience alone does not establish that fit.
- Save an untouched original and edit a separate copy.
- Note microphone placement, gain settings, posture, and room conditions.
- Label alternate reads and corrections clearly.
- Check exported files by listening outside the recording session.
- Back up the session and delivered audio before deleting anything.
Compare your voiceover setup options
Choose the setup that solves your recording constraint. This 2026 comparison separates connection choices from room and workflow choices; you can combine them. A treated room, for example, can serve either a USB or an XLR chain.
| Option | Best for | Main advantage | Key limitation |
|---|---|---|---|
| USB microphone setup | Solo artists prioritizing fewer separate components | Combines microphone and computer-audio connection | Microphone and interface functions are tied together |
| XLR microphone and interface | Artists who want independently replaceable components | Separates microphone choice from conversion and monitoring | Requires more compatibility checks and cabling |
| Dynamic microphone | Close-spoken work when its sound suits the performer | Can work well with controlled close-microphone technique | Some models require substantial clean gain; room noise remains |
| Condenser microphone | Detailed speech capture in a controlled space | Offers models suited to subtle vocal detail | Can expose mouth noise and reflections; power requirements vary |
| Treated home recording space | Artists handling recurring auditions and pickups | Keeps the recording workflow close at hand | Absorption alone does not block outside noise |
| Booked recording studio | Projects needing a recording space outside the home | Moves capture away from an unsuitable home environment | Requires scheduling and a plan for matching later pickups |
No microphone type wins every voice. Compare a conversational read, a projected line, and a quiet passage at matched playback levels. Listen for intelligibility, distracting coloration, noise, and consistency—not just an impressive first impression.
Common mistakes voiceover artists make
Buying a microphone to fix a noisy room
A different microphone changes the capture, not the source of the noise. Test another position or recording time first. If traffic remains audible, address isolation or choose another recording location before upgrading the microphone.
Building a music studio instead of a voiceover chain
Extra inputs, keyboards, and outboard processors do not become necessary because they appear in studio photographs. Start with the equipment required to record, monitor, edit, and deliver your voice. Add components only when a specific task requires them.
Removing every breath and every pause
Aggressive editing can make narration sound unnatural. A noise gate can also cut quiet word endings or breaths when its settings do not suit the performance. Edit to the brief, preserve intelligibility, and listen across every cut.
Processing an audition beyond the brief
Heavy compression, equalization, or noise reduction can hide the actual recording quality and leave audible artifacts. Deliver what was requested. Keep the unprocessed recording so you can supply another version without performing the entire passage again.
Changing the setup before recording pickups
A new microphone position, a different room, or moved absorption can make replacement lines stand out. Document the original setup before changing it. For matched pickups, restore the recording conditions and compare against the original passage.
FAQ
What's the best recording gear for voiceover artists starting at home?
The best starting setup is a microphone suited to your voice, a compatible recording connection, headphones, recording software, and a controlled recording space. Test the room first, then choose USB or XLR around your workflow rather than buying unnecessary components.
Is a USB microphone good enough for voiceover work?
A USB microphone can work for voiceover when its recording quality and file workflow meet the assignment. Check noise, clipping, monitoring, and client requirements with an actual recorded test.
Is a dynamic microphone better than a condenser for a noisy room?
A dynamic microphone is not a substitute for controlling a noisy room. Compare the microphones at realistic speaking distances and matched playback levels; placement and the balance of direct voice to unwanted sound matter.
Do acoustic panels soundproof a voiceover booth?
Acoustic panels primarily reduce reflections inside the space; they do not make a booth soundproof. Outside-noise problems require attention to sound transmission through the structure and its openings.
What recording settings should I use for voiceover in 2026?
Use the client's required recording and delivery settings. A 24-bit, 48 kHz session is a common production choice, but sample rate, bit depth, channel count, and processing requirements must match the brief.
Can I buy used microphones and audio interfaces for voiceover?
Used microphones and interfaces are an option when their condition, compatibility, and transaction terms meet your needs. Request an unprocessed test of the actual item and confirm accessories, connections, and software support before committing.
Do I need studio speakers to record voiceover?
Studio speakers are not required to capture a solo voiceover take. Headphones let you monitor without speaker playback entering the microphone; checking translation on other playback systems remains useful during review.
One last thing
Save a reference take before improving your setup. A cleaner new recording can still be the wrong match for an unfinished narration project. Finish the pickups under the original conditions, then document the upgraded setup for the next job.
Your next move is a room test, not a shopping spree. Record. Listen. Fix the specific problem you hear.